
Social media is one of the best places to engage your audience. But, no matter your chosen platform, there are a few golden rules to succeeding with social. Although there are a few more ins and outs to remember for social media, one of the biggest components of quality social is imagery. We’ll walk you through just how to take photos for social media below.
The rules of the game
Of course, it’s important to remember some of the golden rules of the social media game:
- Be engaging and entertaining before being self promotional
- Actively update your accounts
- People are visual, give them something beautiful to look at
It’s that last one that tends to be tricky. If you’re not a photographer, or if you don’t have an overly visual brand, it can be difficult to take pictures for your social media accounts. Luckily, in today’s age of smartphones and editing-made-easy apps, you can take beautiful images fairly easily.
In this blog post, we’ll be teaching you how to do just that by covering:
- How to take social media images with your cell phone
- The best editing apps for your phone
- Understanding DSLR basics
- The best editing programs on a computer
How to take photos for social media—a deep dive
If you’re looking for customized and personal social media images on a budget, your best bet is to DIY your photography. Gone are the days where it would take an expensive camera and a degree in photoshop to produce beautiful imagery. Y can actually take stunning social media pictures with most smartphones now.
Cell phone photography tips
Smartphones have pretty impressive cameras nowadays that shoot photos in such high-quality that the untrained eye (aka the average person) could easily mistake the photos for professional.
With that said, there are a few things to consider when shooting with your smartphone:
- Wipe off your camera lens. This is true no matter what you’re using to shoot, but especially so when you’re using a cellphone. Because we manhandle our phones all day, the lenses tend to get smudged. These smudges can distort your images and make them look foggy.
- Tap on your subject when taking the picture. Once you’ve framed your picture, before you hit the shutter button, tap on the subject of your photo. This lets your phone know where to prioritize the focus, and will ensure a sharper photo.
- Improve your lighting. Lighting can make or break a picture, whether you’re using a cellphone or an expensive DSLR. Shoot your images using natural light if you want to shoot on a budget, or you can invest in a ring light or kit lighting set. (Consider setting up a home video recording studio).
- Shoot from several angles. Don’t shoot one picture and call it a day. Play around with angles and perspectives to give yourself flexibility when choosing a picture to post.
- Utilize negative space. When learning how to take Instagram photos of yourself, most people’s biggest mistake is making every picture a close up. That often results in a very tight, claustrophobic feeling photo that’s hard to look at. By adding empty, negative space around your subject you’ll actually demand more attention to the object or person you’re photographing.
Cell phone editing apps
If you’re taking photos on your phone, it can be a pain to send them to your computer just to edit them and then back to your phone to post them to Instagram. Luckily, there are a ton of great editing apps that you can download straight to your phone, and many of them are free!
Here are a few to try:
A Color Story
A Color Story was an app developed by bloggers, Elsie and Emma Larson The app was created by internet marketers with internet marketers and bloggers in mind and it’s powerful.
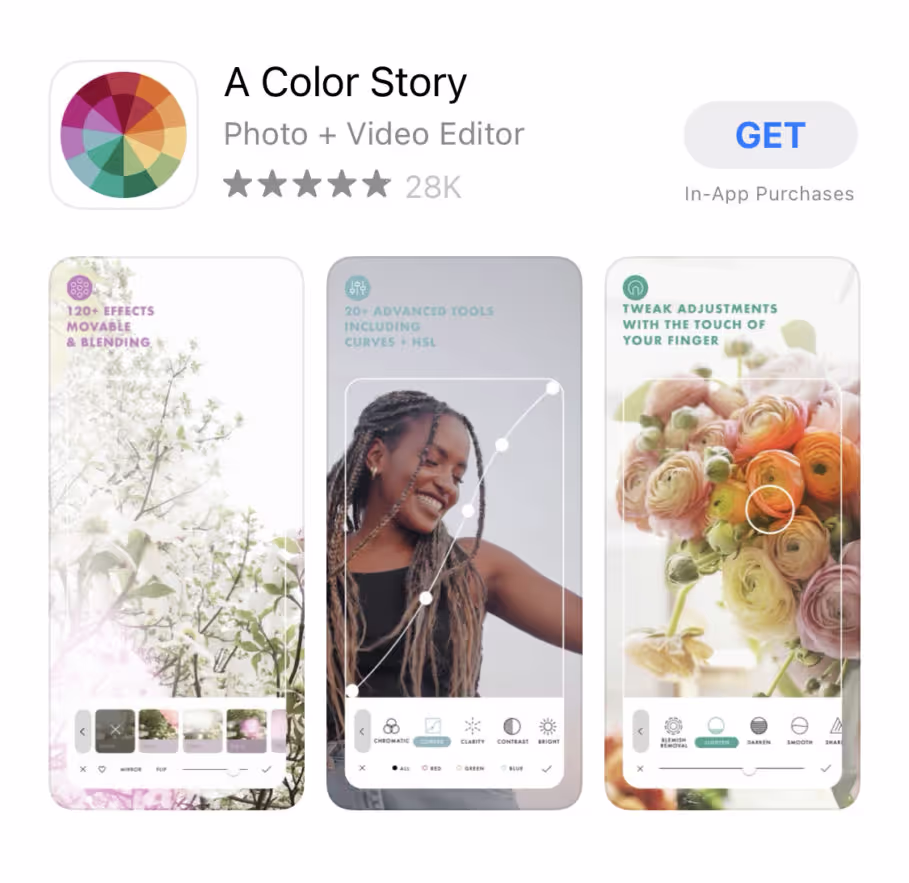
The best thing about A Color Story is that it’s not just a filter app. Instead, you can tweak the curves, shadows, hues, and everything in between. It’s got most of the functionality of higher end editing programs and it’s free.
If you don’t want to dive into the complicated editing techniques, you can also apply their ready made filters. Some of these are free, but others you do need to pay for. Hint: staying consistent with the filters you’re using will create a more recognizable, well-maintained brand.
Lightroom
Lightroom has a mobile app that makes editing on the go a breeze. It’s almost as powerful as the desktop app. But unlike the desktop app, you can download it for free.
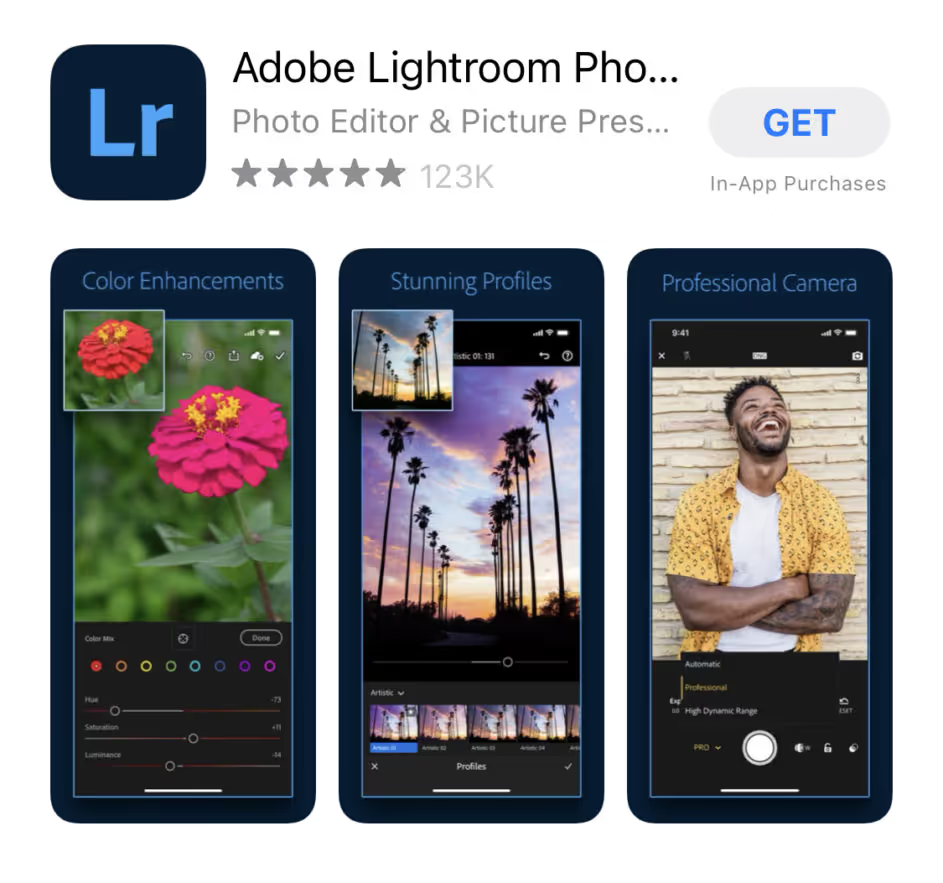
It’s a lot less intuitive than other apps, so approach this one with caution unless you’ve got at least a basic understanding of photo editing.
One of the best parts about the Lightroom app is that you can download presets that act like filters that you can paste on top of your photos. If you use Lightroom on a desktop you can sync your app and desktop filters to help make cohesive editing a breeze.
Facetune
Facetune has a bad rep as the go-to body and face editing app for celebs and Instagram models. While it can be used to distort images of yourself beyond recognition, it also has a few unique uses that are hard to replicate with other apps.
One of those features that’s worth trying is the lighteningg tool. It’s intended to be used to whiten teeth in selfies, but you can use it to whiten whites in pictures. For example, on Instagram bright pops of white throughout a feed can help make photos more eye catching.

It also has a “details” tool that sharpens anywhere you touch on the photo. This is especially nice if you’re trying to make text, a logo, or any small detail pop.
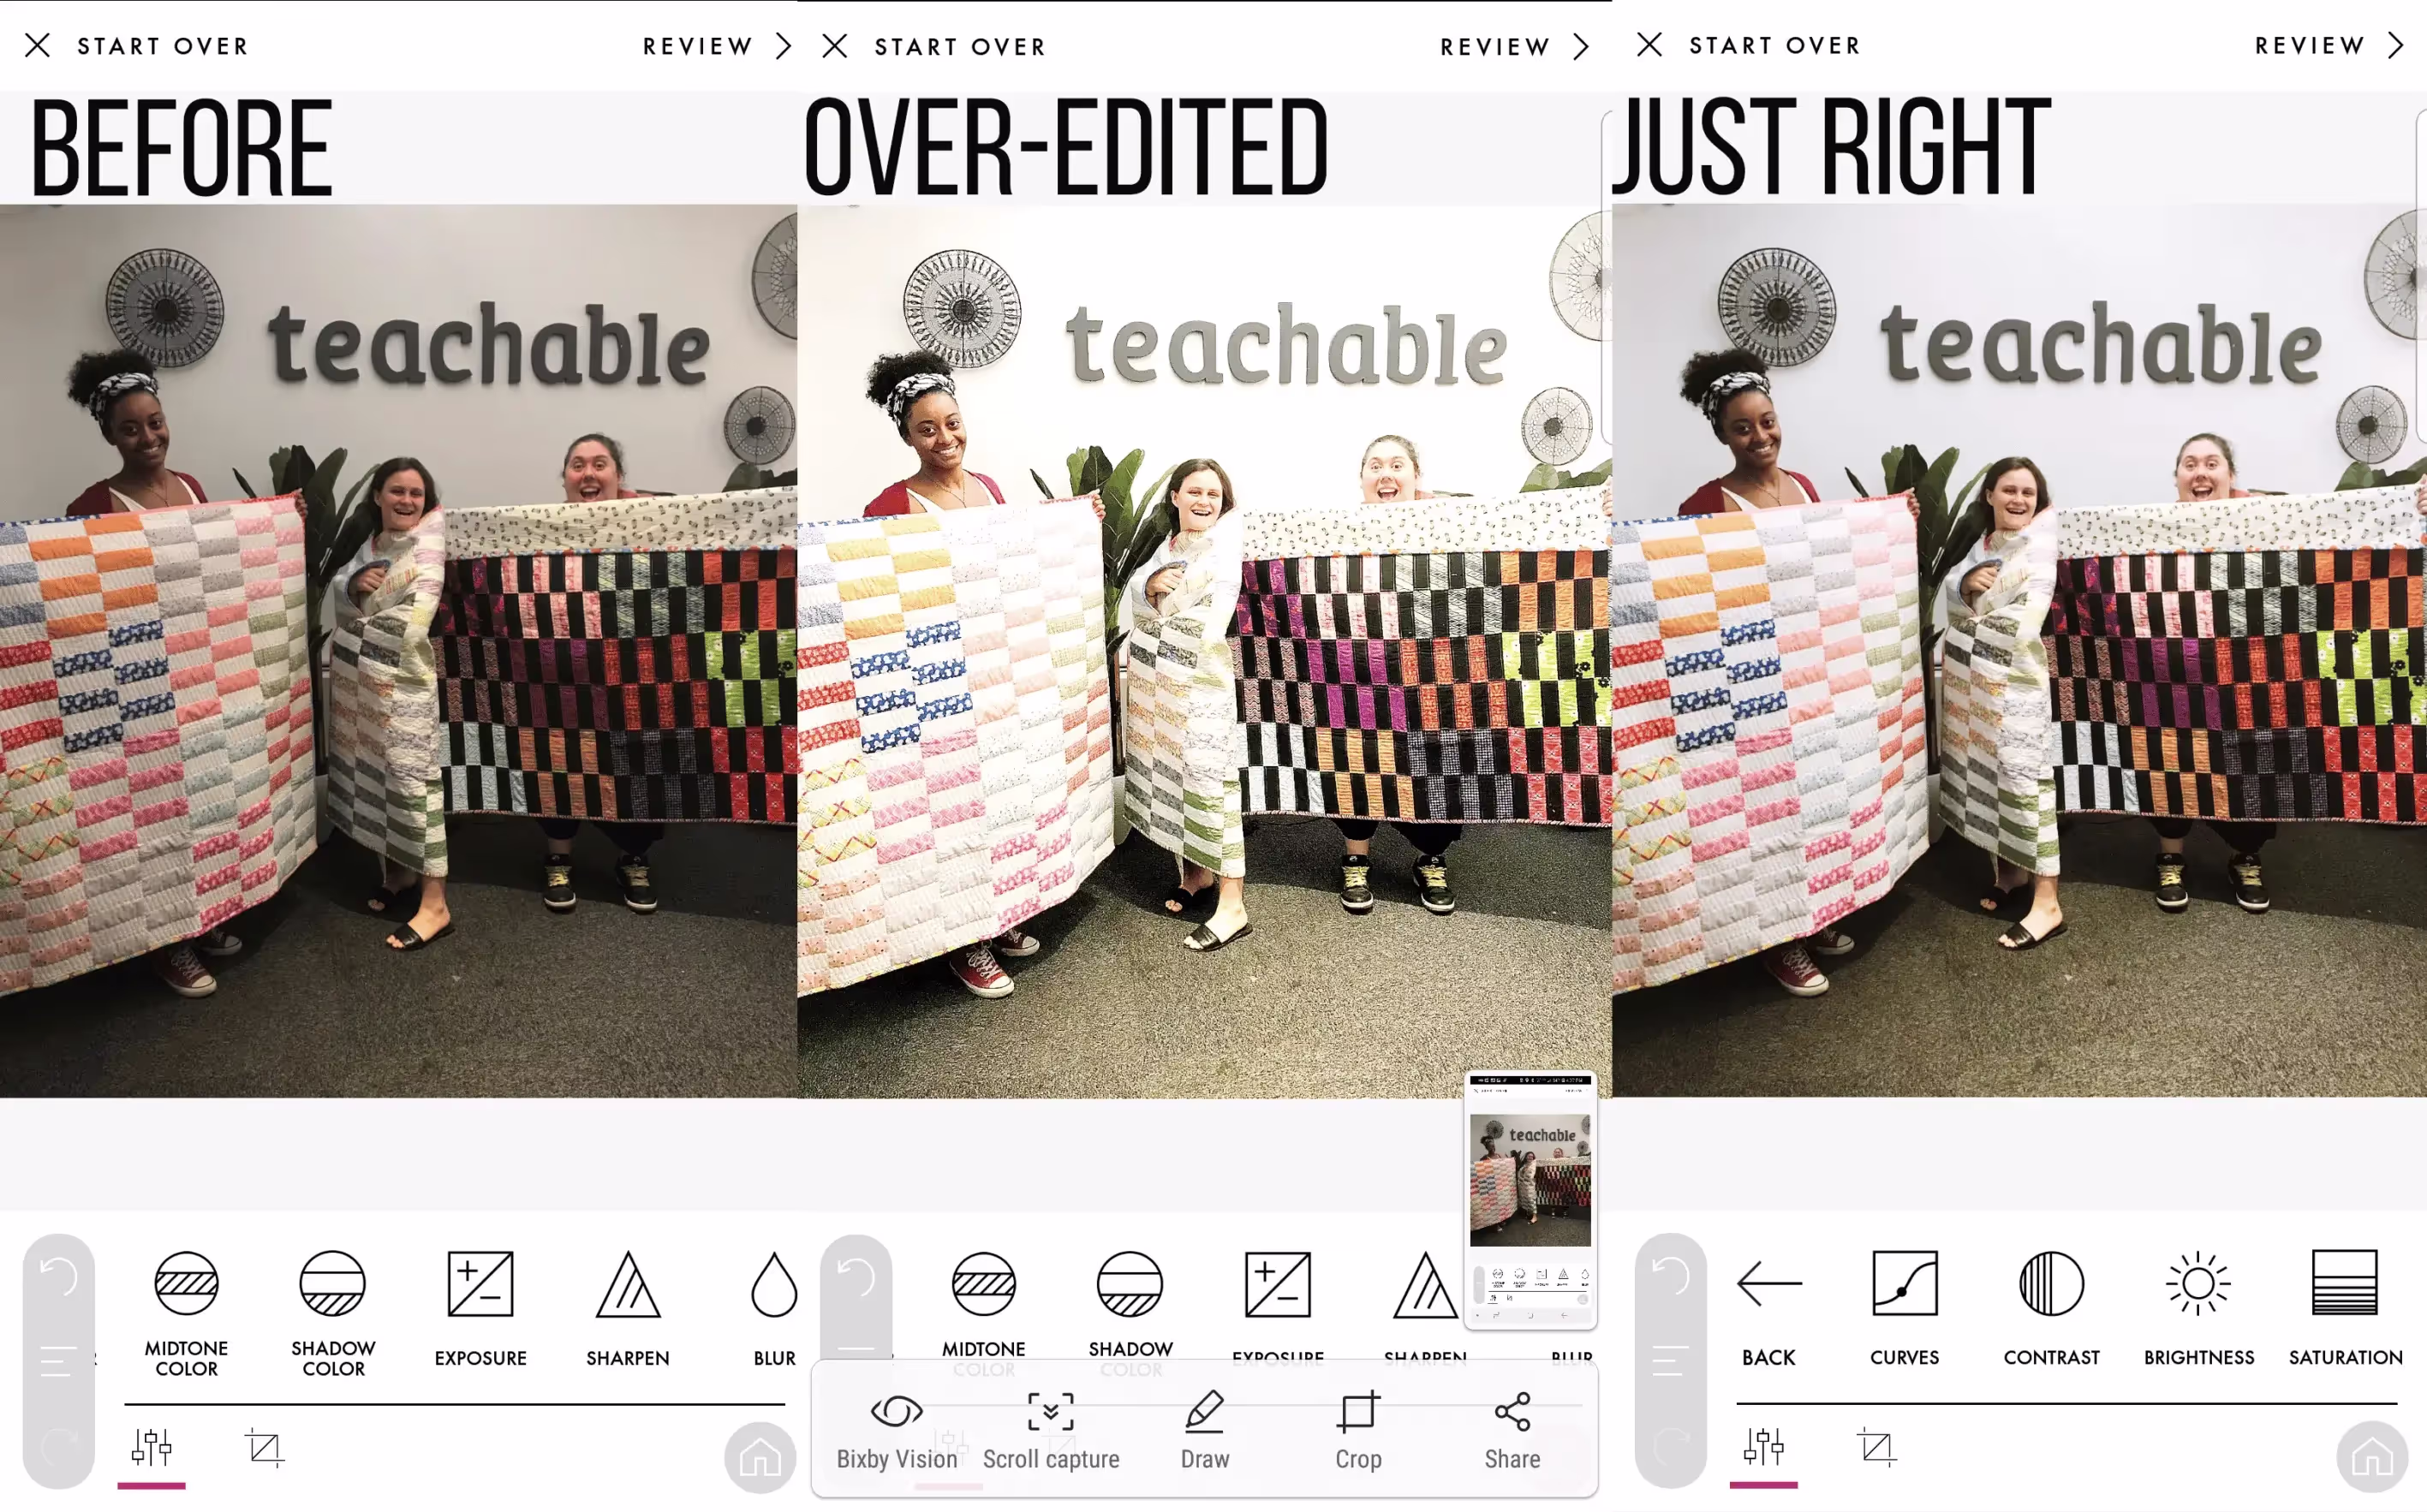
Editing mistakes to avoid
Editing apps make tweaking pictures a little too easy, and it’s not hard to go overboard. If you follow the photography tips above, most images will just need a few little tweaks to look beautiful. Often new photographers over expose, saturate, and sharpen their images all in one go but remember—sometimes less is more.
DSLR photography tips
Most people who own a DSLR camera but are not photo pros never shoot outside auto mode. And, if you’re a beginner, there’s nothing wrong with shooting in auto. However, you do have more control if you learn manual.
This simply means you control every aspect of the image: aperture, shutter speed, and ISO. We break these down below.
Aperture (also known as “f stop”) allows you to control how blurry the background looks. You may notice in professional photography, the subject is usually a bit sharper than the background like this:
The lower your aperture or f stop is, the less of your image will be in focus. The higher the number the more of your image will be in focus. Shooting “wide open” at 1.8 will make your background super blurry, but you also risk making parts of your subject a bit blurry because there is such a narrow field that will be in focus.
A lower aperture also means your lens will be more “open” which lets more light in.
Shutter speed controls how long your lens will be open when taking a picture and it’s represented by a fraction like “1/40.” The lower the bottom number, the longer your lens will be open. If the bottom number is too low (really anything under 1/40,) you should use a tripod to reduce shake.
Like aperture, shutter speed impacts how much light is in the final image. The longer the lens is open, the more light and the more exposed your image will be.
ISO is the most complicated of the three elements. Basically, ISO controls how sensitive to light your camera is.
If you’re shooting in the dark, you’ll need to raise your ISO. Keep in mind, though, the higher your ISO is, the more grain you’ll have in your picture.
It’s my preference to keep my ISO as low as possible while mostly relying on aperture and shutter speed to control the light, only raising the ISO if extremely necessary.
Combining the manual elements
When shooting on manual, start by setting your aperture, opt for around 2.0. It gives you the blurry background but makes it easy to keep your subject in focus. From there, take a test shot and see what you need to do with the shutter speed. If the image is too dark, lower the shutter speed, if it’s too bright, raise it.
If your image is still too dark and you can’t lower the shutter speed any further, then go in and raise your ISO.
Understanding your camera
Now, if you’re new to using a DSLR, even just figuring out how to make these changes on your camera can be a bit tricky. Youtube is yoru best best for tutorials where pros show the ins and outs of each camera.
No two cameras are the same as far as where to find the controls so find a guide to your specific camera when you’re learning.
Shooting with a DSLR
Once you understand how to control a DSLR using manual mode (it takes some practice, don’t get discouraged!) your next move will be to start shooting.
Most of the shooting advice mentioned in the smartphone shooting portion of the post also applies to shooting with a DSLR.
The one great thing about shooting with a DSLR camera, is the control you have over how the final image turns out.
Want the subject to a be a bit sharper compared to the background? Lower the ISO. Want to brighten up the image? Keep your shutter open for a bit longer. As you’re shooting, take a look at your images and decide which tweaks you want to make.
It’s better to shoot your image exactly how you want it to appear rather than having to edit it a bunch later.
Editing programs for the desktop
No matter how great an image is in camera, you still may want to make a few tweaks here and there to really bring your vision to life.
If it’s in your budget, Adobe Suite has a few very powerful editing programs, the most popular being Photoshop.
Editing using Photoshop
With Photoshop, you can do just about anything imaginable to your pictures. Whether you want to make the most basic of tweaks using the Camera Raw controls, or go all out and add dramatic flair and effects to your pictures.
(This tutorial teaches you how to add clouds to your pictures!)
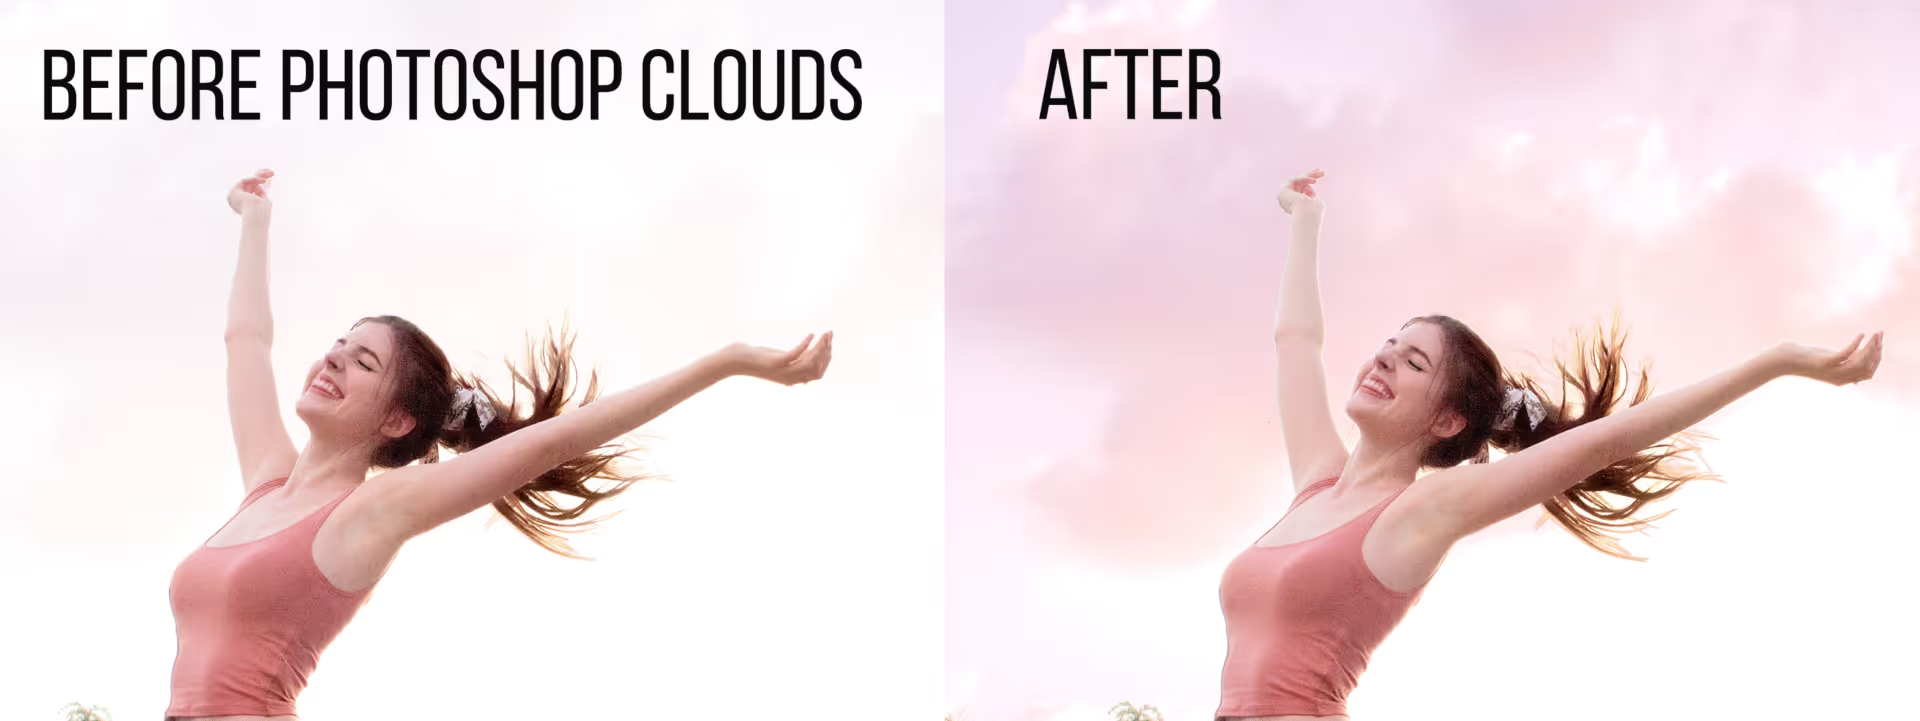
If you’re new to Photoshop, this is a good time to tune into YouTube. There are tutorials for everything from smoothing skin to changing colors to adding effects like clouds into your background. There are also great online courses that cover a wide range of Photoshop skills.
My favorite channel for learning how to photoshop images is Phlearn.
Editing using Canva
If you want something a little simpler, you can use Canva. You can make very basic tweaks to your images in Canva using their image editor.
This is great if you’re looking for a free option, or if you’re going to create graphics out of your images regardless.
Putting it all together
Once you’ve got the hang of shooting photography for social media, try batching your shooting and editing. What that means is instead of shooting and editing whenever you need a new picture to post, plan out your next few weeks of posts and try to take all of your pictures in one day.
Batching helps you build a backlog of content so you’re never scrambling to post and it’s more efficient.

Tags:


