Thank you! Your submission has been received!
Oops! Something went wrong while submitting the form.
MENU


If you plan to create an online course, you’ll have to answer this question at some point:
Do I need to put myself on video?
For many course creators, the idea of capturing yourself on video is daunting, if not debilitating. But it’s likely you’ll need a video in your online course business at some point.
You may want to use videos to sell your course, but the most obvious place you’ll want to include them is in your course curriculum. Think about it: Would you rather enroll in a course and have to read through 100 slides, or watch the instructor guide you through an engaging presentation?
You don’t NEED to present on video in your course, but doing so can help:
What I’ve found from creating my Teachable course, Make Me A MetaLearner, and teaching on my YouTube channel is that presenting on camera is both a science and an art.
As an academic tutor and university lecturer I’ve spent plenty of time standing up and presenting to students, but presenting to the camera is a different ball game!
Before I recorded my first course, I studied some of the best presenters, both past and present, to try and find out what they did differently.
What I discovered is that they all followed five rules, despite having very different individual styles, which have been developed through years of consistent deliberate practice.
These five rules are what I call the science of powerful presenting – the steps that all good presenters follow, which are guaranteed to deliver results every time.
These rules apply whether you’re a beginner who’s getting in front of the camera for the first time, or an experienced presenter who’s spoken plenty of times before.
You should do everything you can to follow them, because when you’ve invested time, energy and money to record a course, the last thing you want is to waste it all with an on-camera performance that’s not up to scratch.
Here are the 5 steps for powerful presentation that are guaranteed to help you present better on camera.
Teaching on camera is balancing act.
You don’t want to come across as wooden and boring, but at the same time you don’t want to be over the top and forced.
You don’t want to be too formal and serious, but you don’t want to be a clown cracking jokes every minute.
So what do you do?
Well, before stepping up to present your course, think about the aspects of your personality that you want to emphasise.
The best presenters all choose to focus on certain characteristics depending on their content, brand and the audience they’re teaching.
So ask yourself these questions:
When you’ve spent time thinking about this, it’s time to get in front of the camera – have those characteristics in the front of your mind and record your first video a few times and watch it back to calibrate.
Once you’ve got a balance you’re happy with, try and get into that zone every time you start a new video, you want to create a consistent style and tone across the course.
When I was recording Make Me A MetaLearner, the style I went for was “relaxed animation”.

Because the course was long and contained a lot of information, I didn’t want to bombard the audience with too much energy – but at the same time I wanted to maintain a level of animation that kept them entertained.
Pro tip: If you’re still having trouble with getting your tone right, then ask yourself this:
If my brand was a person, which 3 words would I use to describe it?
Presenting on camera is almost magical, because you’re presenting to an audience of hundreds or potentially thousands of people through the lens.
But thinking about this won’t help you, because it’s almost impossible to focus on a big audience when you’re presenting.
In fact, thinking about all the potential viewers watching you will do nothing but make you nervous and throw you off track.
So what do you do?You present to an audience you can manage – an audience of one.
This rule applies to public speaking as well and if you watch your favourite speakers, you’ll see that they focus on individual members of the audience for a few seconds, making eye contact with them before moving on to someone else.
Bill Clinton, who was an exceptional communicator, was a master at this – and people have often remarked how much they felt he was speaking directly to them during his addresses from the Oval Office.
To replicate this on camera, imagine someone you know – ideally this person is a member of your target audience, but they don’t have to be.
It could be your brother, your best friend, or your girlfriend – whoever you need to put you in the right state.
In my case, I had a good friend sitting with me and operating the camera, so I simply presented directly to him,
Pro tip: If you don’t have someone to sit with you, you can print someone’s picture off and put it on a wall facing you or even tack it on top of the camera so that you’re looking directly at it.
I love spontaneous, unscripted video just as much as the next person.
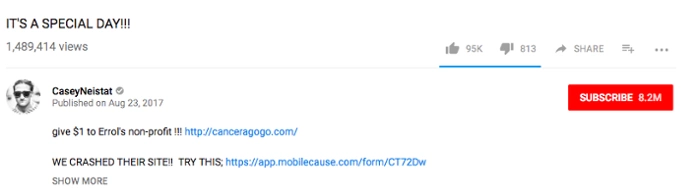
The people that do it well, the Gary Vaynerchuks and Casey Neistats of the world, are true masters and there’s something extremely powerful about speaking off the cuff or straight from the heart.
But when you’re teaching a course, it’s almost impossible to do it all off the top of your head without any previous preparation…
Remember, your students are expecting an organised educational experience and you need to give them the information and inspiration in a structured way that they can compute.
This is why it’s so important to spend some time scripting what you’re going to say, because you can take your mind off remembering all the material and focus on bringing your words to life.
When you don’t script, you can end up spending loads of time on a single take, and the frustration will start to wear you out.
The best course presenters all come across as silky smooth,and that’s because they script their words.
For Make Me A MetaLearner, I spent plenty of time scripting my course – and while it wasn’t all delivered word for word, the majority of it was.
The simple act of scripting also structures the material in your mind…so even if you’d rather go with bullet points than full word for word, the impact this will have on your performance will be huge.
If you’re using a teleprompter make sure that you practice with it a few times beforehand. There’s nothing that breaks connection more than seeing a presenter’s eyes dart up or to the side to check the next sentence or bullet point on the prompter!
Pro tip: While you’re scripting your course, make sure to read it out loud – you’ll find that you write plenty of things that you wouldn’t say, and those are the things that will sound awkward if you don’t cut them out.
The great English scientist Sir Isaac Newton said that energy is never lost – it’s only transferred from one form to another.
And while that may be true for the laws of physics, it’s clear old Isaac never spent any time in front of a camera!
Because as I’ve discovered, there’s a law of energy loss when you present on camera.
Whatever energy level you put out gets cut in half, you’ll see this when you watch yourself back on video.
That’s why if you usually present at a 5 out of 10 in terms of the energy you’re bringing to the table, you need to turn that notch up to an 8 or even a 9.
You might feel uncomfortable when doing this for the first time and you’ll think you’re coming across as over the top.
But, it will make a massive difference to the final quality of your presentation if you do it.
Remember, this rule doesn’t just apply to your tone of voice – it also counts for your facial expressions and your gestures, which I’ll discuss in more detail for the final point.
Sometimes you need to overdo it to really get a feel for this.
The results may be a little weird at first, but sometimes you need crash the car to know how fast it can actually go.
And when you do, you’ll be able to calibrate back to a level that’s animated enough without being over the top – the level that will keep your students engaged and learning from you.
Pro tip: Present through a smile as much as possible – it will lift your enthusiasm and put that twinkle in your eye that will keep your students watching!
There’s plenty of research to show how changing our physical state, our posture and body language, can have a strong knock on effect on the quality of our presentation.
It turns out that the simple act of power posing, or standing tall with our hands outstretched can greatly improve our feeling of self-confidence before we present. Check out Harvard psychologist Amy Cuddy’s research on power posing for more on this.
So if you’re someone who feels nervous on camera, try this before you present.
When you’re actually presenting, whether you’re standing or sitting, make sure your feet are firmly planted on the floor and your spine is as straight as possible. Avoid leaning or slouching and look straight down the barrel.
If you watch any of your favourite presenters, you’ll also notice that they’re quite expressive with their use of gestures.
And according to Susan Goldin-Meadow and Martha Wagner Alibali from the University of Chicago, gestures greatly help to illustrate ideas in a way that makes them better understood.
This is no real surprise if you think about it – because using gestures helps to take abstract ideas out of our heads and into the real world in a way that makes them more concrete and tangible.
As a loud Greek who grew up watching people wave their hands around like crazy, I like using my hands to express what I’m saying, and this has definitely helped me in my presentation.
But as with everything there’s balance needed here – if you’re moving your hands around all the time, it will become annoying for the viewer and distract from your message.
It’s like reading a book and highlighting every line of every page, nothing will stand out if you do it all the time.

Here is Mark Zuckerberg using his hands to make a point during a presentation.
On the other hand, if you’re someone who doesn’t use your hands a lot, I think it’s important to make the effort to do so more than you would in everyday conversation.
Again, this might mean overdoing it a little at the start, but as long as you watch yourself back, you’ll quickly be able to adjust down to the right level.
Use gestures to highlight key points and help moderate the pace of what you’re saying, so if you’re breaking stuff down into a list of 3 key points I might emphasise the start of each new point with a hand movement.
Pro tip: Keep your hands bent around your midsection so your hands appear above your waist but below your shoulders – visible enough to make an impression without getting in the way.
At MetaLearn, I teach the principles and techniques needed to learn anything because there are certain lessons, taken from cognitive psychology and neuroscience, that apply across all skills – whether you’re building a business, learning a language or presenting and online course.
First you need to have a strong mindset. As simple as it sounds, research by Stanford Psychologist Carol Dweck has shown that our beliefs about our own abilities directly affect the results we achieve.
So many assume that good presenters possess an intrinsic talent, the so-called gift of the gab, and assume that their own skills can’t be developed and or improved. This just isn’t true.
I’ve seen this with my own eyes looking at my own presentation in the last year, I believed I could get better and I have, and the difference between my performance on the first video and the last is night and day!
Second, you need to make sure that you keep practicing consistently if you want to get better. Research by Anders Ericsson from Florida State University suggests that we need to put in hours of high quality deliberate practice to improve and this is just as true for presenting as it is for golf or tennis!
Now if you’re not looking to become the best presenter in the world, you won’t need to put in the famous 10,000 hours Ericsson believes it takes to become a true master in any field.
But if you keep putting in the hours over time, you will get better, I’ve seen this from producing one YouTube video a week this year, the consistency really makes a difference!
Third and finally, if you want to keep improving your presenting skills, go find a community of other presenters, or online course producers!
Joining communities (either online or preferably offline) is crucial part of the learning process, which we often neglect, but it’s very important because it gives us motivation and accountability.
When you see others killing it on camera, you’ll be inspired to up your game. And if you announce you’re going to be filming a course to a community of creators, you can be sure that they’ll hold you to it!

In the world of online course launches, the most successful ones often begin with a conversation. Creating a productive back and forth with your audience builds anticipation for your course launch. To help you set off on the right foot, we’ve done the research to find product launch emails that will result in more sales for you.
There is no magic number when it comes to creating a launch conversation through email. The key is imply to use the conversation to help define what your product actually is. The great part about this strategy is that you only need an email list of a few hundred people to start getting results and data about your approach. While, we’re going to focus on online course launches, the learnings from this process can be easily translated to launches of all types, whether you’re promoting your product on KickStarter or at a tech startup. We looked into hundreds of successful course launches and pre-sales.
Here are seven basic email types almost each of these launches has:
Each of these emails has a specific purpose—and takes advantage of psychology we’re all influenced by. Particularly:
For more of the psychology side, check out Robert Cialdini’s book Influence or Jeff Walker’s book, aptly called, Launch.
Let’s check out some examples of each of these types of emails.
The point of the survey email is to quickly collect email addresses and get feedback from your potential audience. Imagine knowing what people want before you sell something. You’ll use these responses to tailor your offer and eventual product.
You can do this by sending out an email to your interest list that asks people for “the one thing they are struggling with right now.”
Here’s an example from the founding of GrowHack with Mattan Griffel. This email had an impressive 10% response rate from 3,000 welcome emails sent.
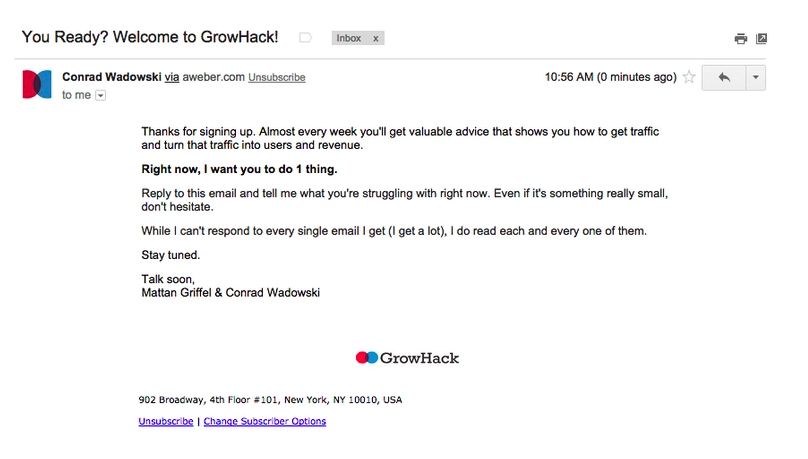
With a survey email, don’t try to sell your product. Don’t include a price. This email is simply a means to find out who’s interested and discover their very specific problems and pain points.
The more closely you can tailor your offer to the exact problems people on your list describe, the more valuable your product becomes and the more people will be willing to pay for it.
This example of product launch emails has the two-fold benefit of also creating a personal connection with your audience and building feelings of trust. It shows that you care about their personal problems, to the point where you want to go so far as to solve them with your course.
SurveyMonkey is a great resource which you can use to create an email survey very quickly at no cost. You can simply link to your SurveyMonkey in your email.
A word to the wise, if you’re linking to a survey instead of asking someone to reply to an email, get specific in the questions you ask to foster actionable responses, while not being lengthy (or people won’t finish your survey) like so:
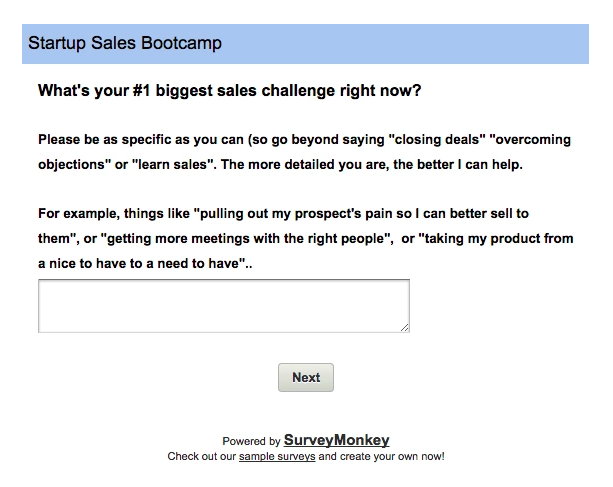
You can also include multiple questions in the Survey Monkey, most people who start your survey will end up completing it if you only show one question at a time.
One of the best ways to turn potential customers into fans is to follow the give, give, give philosophy before you make any kind of offer. Giving helps build a sense of reciprocity. If you give value, someone naturally wants to return the favor.
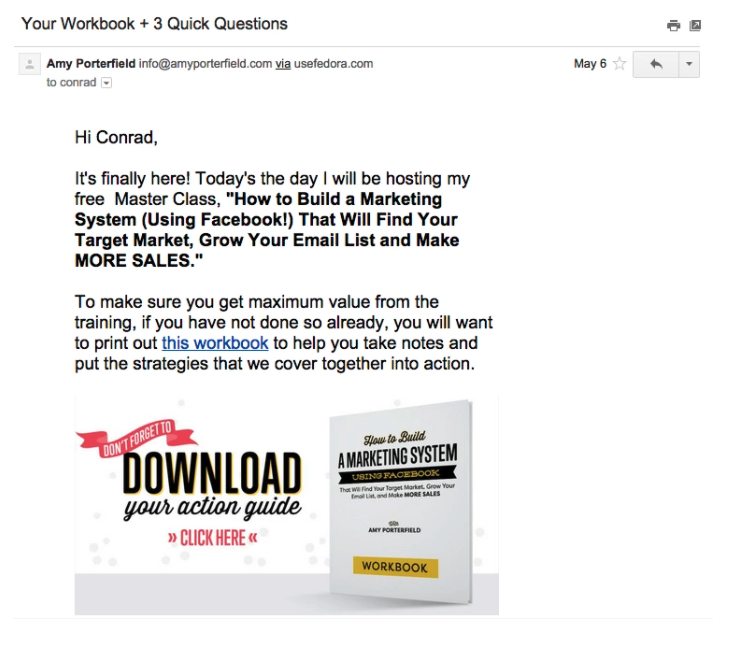
To start this type of product launch email, begin by giving your reader something valuable. This giveaway can come in the form of a blog post, worksheet, video training, audio files—almost anything works as long as it’s high quality and free.
Here’s an example of a workbook from Amy Porterfield:
This email will help you segment your audience into lists based on who they are and their interests.
For example, if you’re writing to all vegetarians, you might want to know who in your audience is just a vegetarian and who is a vegan so you know how to tailor your content. Or, if you’re starting a StartUp Sales Bootcamp like Juliana Crispo you might want to know who is a sales executive and who is a founder.

This is a great email to start building anticipation with your audience and building conversation.
Hold back from including any mention about your exact offer in this email, you’re just looking to learn about your audience and better categorize them so you can send them specific communication in the future.
For Juliana’s presale specifically, more than 50% of those who signed up for her interest list turned into eventual paying customers.
A couple ways to create your interest list page include:
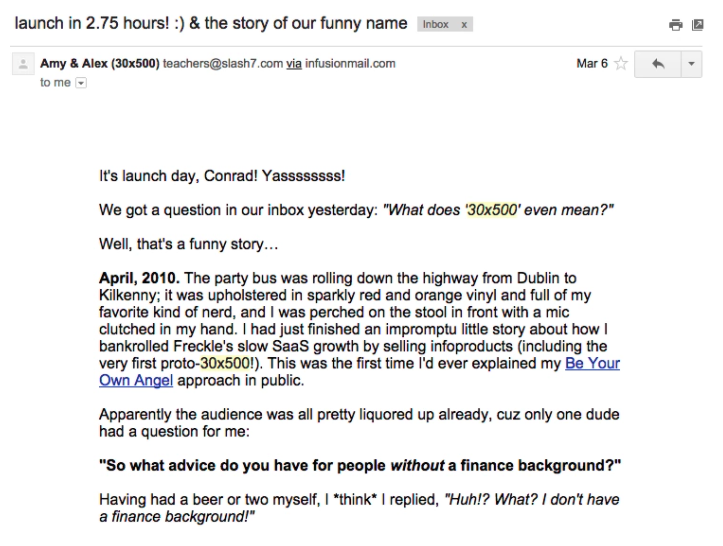
Telling an engaging story is a great way to build interest and trust with your audience. It’s one of the more compelling examples of product launch emails. One way to start is by telling your personal story about why you created this content. A story helps humanize you and emphasizes the outcome you’ll lead someone to through your course.
Here’s how Amy Hoy of 30X500 goes into her story and builds anticipation like this:
In your story, know that it’s OK to say you’re not experienced with teaching. Anecdotally, we’ve found that people don’t necessarily always want an expert, they want someone who has just been through what they’re currently going through.
This way, you understand the trouble spots and the language that helped you understand better than a seasoned expert who might pass over important assumptions. Here are a couple strategies to get around the the curse of knowledge from Janet Choi of Customer.io.
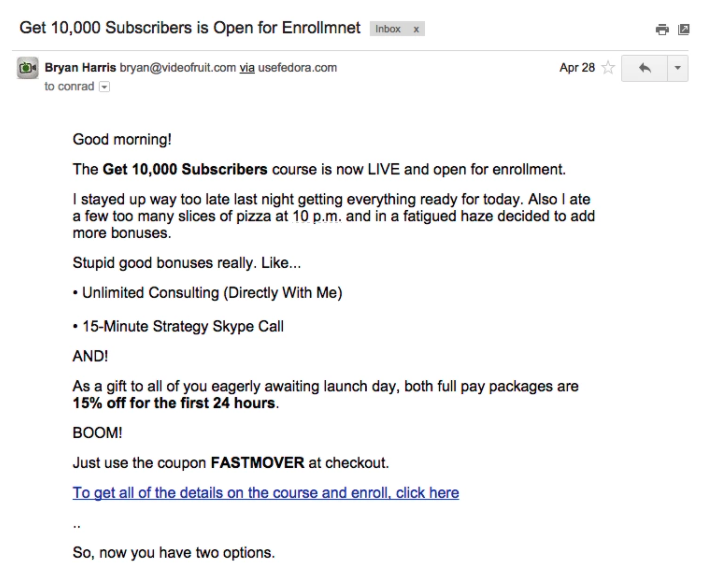
This is where you let your audience know they can actually pay for your product or at least get the pre-sale.
Here’s the opening to the offer email from Bryan Harris of Video Fruit:
There is a ton of information out there on how to handle pricing and how to approach mentioning it in an email of this type. One approach is to do what Debbie LaChusa did with her course, which is to offer it at a discounted price prior to launch for just a short period of time. This creates scarcity and urgency around your offer.
Nat Eliason successfully launched his course, Become a Technical Marketer, letting his audience know that the cost of the course would go up after it officially launched.
Another aspect of this email can be sending someone to a great landing page. We loved Bree Noble’s story. When she was preselling her online course Female Musician Academy, linking to a great looking sales page helped.
“I was able to pre-sell my online course (Female Musician Academy) to 15 people at $290 new students told me that my Teachable school was so beautiful that they could tell the course was going to be amazing.”
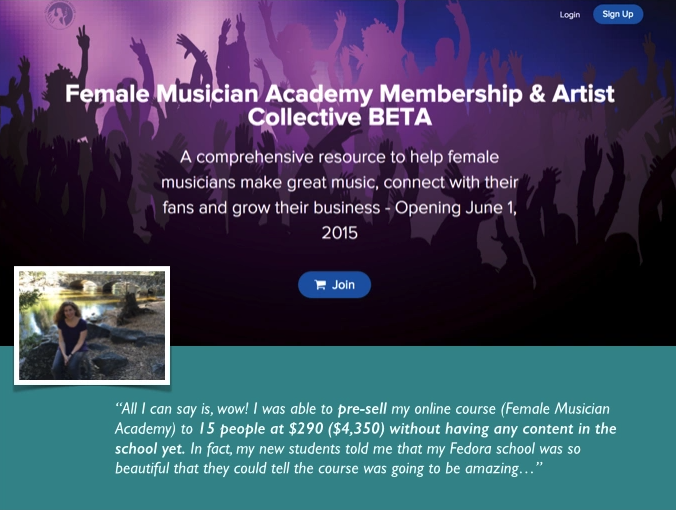
By linking to strong online assets and by creating strong written content around the course, Bree demonstrated some inherent social proof, which she used to help monetize her course before launch.
Alternatively you can also include bonuses and not explicitly state your price in your open email, like in Marie Forleo and Laura Belgray of Copy Cure.

In your email, be sure to link to your online properties where people can buy your product and make sure you have standout visuals.
What this email does is pretty self-explanatory. You’re going to answer the common questions your audience might be sending you.
This is going to keep people in your course who might be confused and haven’t gone so far to bring up their hesitations with you. It also preemptively saves you time by resolving common customer support questions.
Check out Jeff Walker’s email with his Seed Launch program:
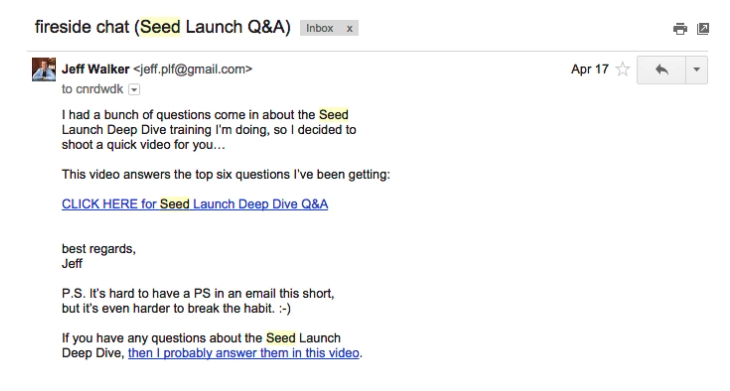
It’s also a great opportunity to create some social proof. After all, if there are common your offer, right?
This is where you’ve got to seal the deal. In this email, you’ve got to let people know that the presale is ending and the price of the course is going to go up significantly or the course will close. You can use social proof and list how many people signed up to further incentivize those still on the edge.
We like the way Amy and Alex did this in 30×500 generating scarcity and giving social proof.
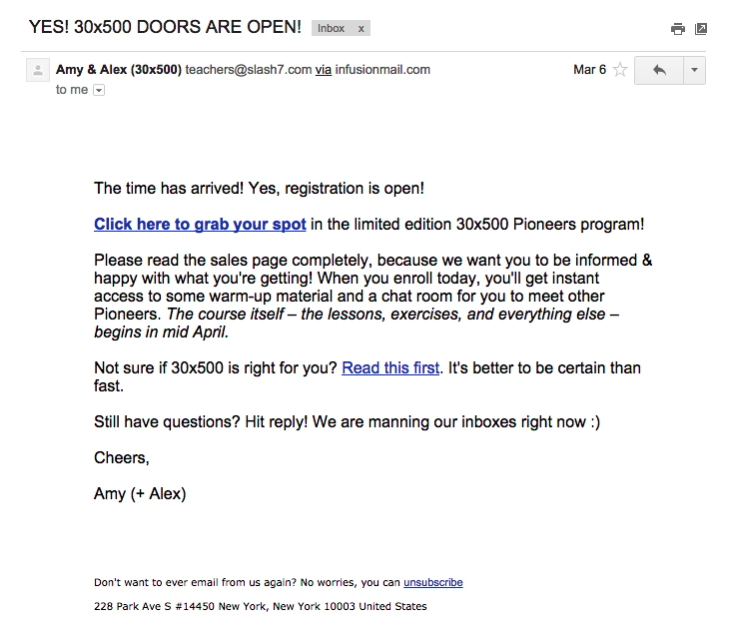
Not only does this push your audience out of procrastination mode and into action, but also, it helps you handle a constant influx of students. It’s easiest to keep everyone on the same path. New users take time to onboard and it’s better to handle in batches rather than individually.
Keep in mind, more than one closing email can be helpful. Some customers will want a final-chance-to-buy type of email before you close your offer or enrollment so they don’t miss out.
Keep in mind, there are a lot of pre-sale or launch email variations that can be effective.
Do you want to combine a give email with an interest list email? Do you want to add three anticipation or closing emails? You can mix and match and layer each of these emails to create your own online email launch sequence.
Try adding these emails to start getting more feedback on your product before launching, build your relationships, anticipation and of course, get more sales.
One of the best ways we’ve found to learn about launching is to study other great launches.
Sign up for courses from experienced creators and check out their techniques. While someone else’s audience might not be the same as yours, you can still learn a lot about launching by studying their email tactics. Did someone else’s launch work on you?
Here are a few examples of courses with effective launch sequences to get you kicked off: