Thank you! Your submission has been received!
Oops! Something went wrong while submitting the form.
MENU

You have the idea and the skills, now you need a course outline. When it comes time to building your course on Teachable, we’ve made sure to create a platform that can handle all of the heavy lifting so you can focus on the creativity part. But before you even jump into how to create an online course, we want to let you in on a powerful secret step that can save you a lot of time and help make your course creation process even better: outlining. Learning how to outline your online course will help you stay organized and know exactly what you’ll need when it comes time to get those creative juices flowing. Whether your niche is reading tarot cards or you’re working on a management course, having a course outline will ensure the creation process is structured, smooth, and organized. Your students will thank you, too!
But first, let’s take a step back to make sure you have all the information you need to outline your Teachable course like a pro.
A course outline contains the building blocks of your online course. It might also be called a class outline or training course outline. It breaks the topic and subject matter down into sections or modules, which can be determined by considering milestones, or learning objectives, you intend for students to have. Modules will be further broken down into specific lessons and learning activities.
Course outlines will include the overall learning objectives, so that the intended outcome is crystal clear for both you and your students. It’s essentially the roadmap for what you’re teaching and how you’re teaching it, as well as what practice/activities students will do in order to best learn what you’re sharing. It will also include any plans for “quizzes” with which students can self-assess where there might be learning gaps or to focus on material they might not have fully grasped the first time.
In order for your students to gain the most value from taking your course, it’s imperative that your course outline covers the following:
Yep, that’s right. To make a great course, think of the end result of your course before anything else. What’s the overarching goal or transformation that your course provides? Then work backwards to determine, step by step, how your ideal student would get to that end goal you’re selling. It’s essential to get clear on this before designing any lesson plans!

Take a few minutes to actually write down the transformation students will experience in your course. Go on, finish this sentence: “By the end of this course, students will be able to do blank.”
If your transformation is either too vast or too vague (e.g. how to live your best life vs. how to feel confident when meeting new people at a conference) you will find your outline may be difficult to craft. Instead think smaller and more specific. In fact, the more specific your outcome is, the better.
{{coursecurriculum-component="/blog-shortcodes/blog-popup"}}

It’s best to choose more actionable words than “understand” when you’re describing your transformation. Consider create, write, make, speak, design, etc. Outcome-based training is the most important thing for being able to outline your online course—and also for your students to comfortably progress through their learning. This will also help you identify if your course is best suited as a standalone course, a subscription, a mini course, or even a course with coaching options.
Now that you have the umbrella of the overarching goal open, it’s time to get more specific by looking at the modules/sections that are underneath it. While you’re determining this, keep a time frame in mind. Many creators will split the modules within a certain number of weeks or days to help students pace their learning. If you want your course to be five weeks long, then determine the most important five subtopics that need to be covered, and each of these becomes a module.
Alternatively, you can also decide what the most important subtopics are and then base the time frame off of that.
Once you’ve determined the modules, go ahead and decide what is most important for students to learn in each one. Learning objectives usually start with “Students will be able to…” and then include some kind of action word, followed by the task or skill. Remember to get specific with the action words, ideally avoiding the words “understand” and “know” for more concise words that are measurable, outcome based, and taught in the course material.. (For example, how do you measure if someone understands something? That’s a lot more nuanced and subjective than measuring if someone is able to create a podcast or design a website.)
Use the formula below to quickly make learning objectives that are highly effective and measurable:
Students will be able to + [insert specific verb] + [description of end product or demonstration of knowledge]
Students will be able to produce a podcast episode.
Students will be able to write a completed screenplay.
Students will be able to author a book proposal with two sample chapters.
Students will be able to construct a gardening plan.
Examples of strong verbs to use: create, produce, write, design, develop, assemble, collaborate, invent, construct, build, blog, devise, podcast, manage, facilitate, generate
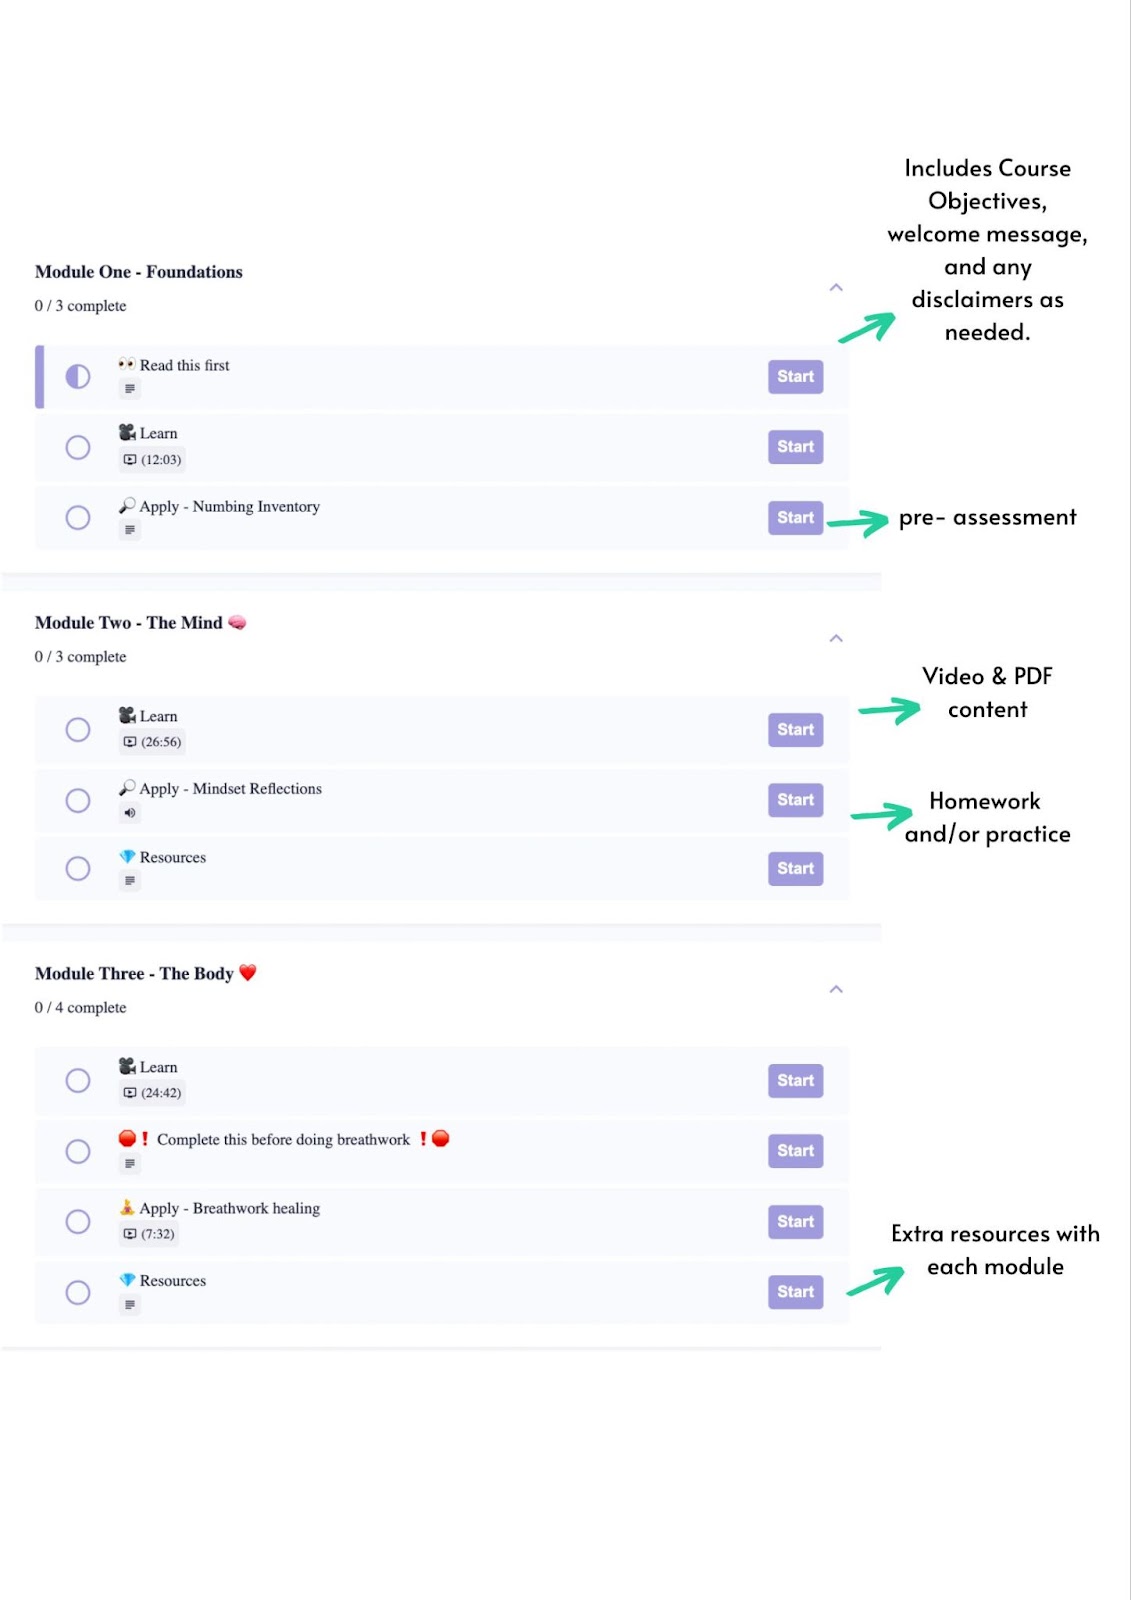
Now that you have the course broken down into modules, it’s time to sort through the material you want to include. Ideally, each module will include the learning objective, some type of content where the material is being taught (keep reading for the five basic content types!), and “homework” of some kind. This is really just a chance for students to practice and implement whatever skill is being taught in this module—it doesn’t have to be very long, but rather to provide a chance for students to move from passively taking in information to actively getting involved with what you’re teaching. Invite them to try their hand at whatever it is being taught, because the more action and practice that they’re taking, the faster and more thoroughly they’ll learn!
The style of your course is up to you, and the method of content delivery you think will make the most sense for your subject matter and students may differ from course to course—even section by section or lesson by lesson. There are five basic content types that are most often found on Teachable creators’ courses: text and photo, PDFs and downloadables, slide decks, screen recordings, and video. Since people have different learning styles, incorporating a combination of content types will enhance student learning. We break them down to help you better understand which might be ideal for your course.

Some lessons may need just one content type, like a screencast, but others may need two, like a video with a companion PDF workbook. It’s perfectly fine—and encouraged—to use a variety of methods within your course.
Including these elements in your course is a potent way to ensure that students are really getting the most from the material you’re providing. Keep in mind, the assessments can be simple, and you certainly don’t have to grade them! You can use questions that align with the learning objective to assess. For example, if the learning objective is “Students will be able to utilize Podcastle to edit a podcast”, then the assessment or homework would be to familiarize themselves with the platform and to edit a podcast episode! Pretty straightforward, right? Although uncomplicated, this is an effective way for students to implement and check their own learning.
It’s a proven pedagogical theory that reflection on the learning process actually helps to deepen understanding of the material and help it stick. Some weeks the homework could simply be to reflect on what they learned or what areas they found challenging or the most interesting from that module.
Along the same lines as number five, having a pre and post assessment is a great way for students to track their learning, and it can also give you helpful feedback about your course. Including a few questions that align with the learning objectives in your course are a good measure of the learning that’s taken place. These can be collected on a survey (like Typeform or Google survey) for ease of feedback and also a way to collect testimonials!
What do you know about producing a podcast?
How confident are you with editing and publishing individual podcast episodes?
We believe in the art of simplicity, so we’ll do anything we can to help make your road to course creation a simple one. In fact, we’ve built our entire online course platform to do just this.
So, once you’ve learned how to outline your online course and have pumped out some content, you can easily use Teachable to physically create your course. Our one-click bulk upload option will also help you upload your course sections and lessons simply. From there you can customize your content, preview, and publish.
If you want a template to create your course outline, then look no further. With Teachable’s outline templates, you can be led through creating a Course Outline in a step-by-step process. To get it, just click here to download for free! You can even think of it as a preview of what’s needed if you’re still in the ideation phase of creating your virtual product.
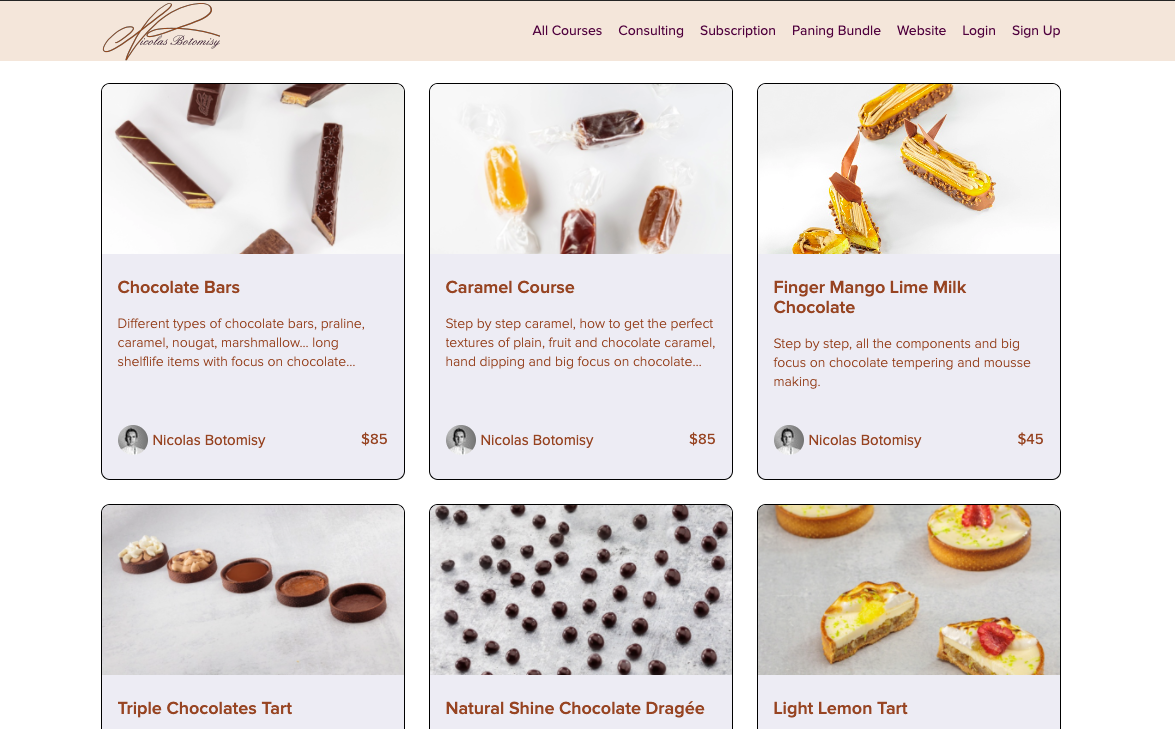
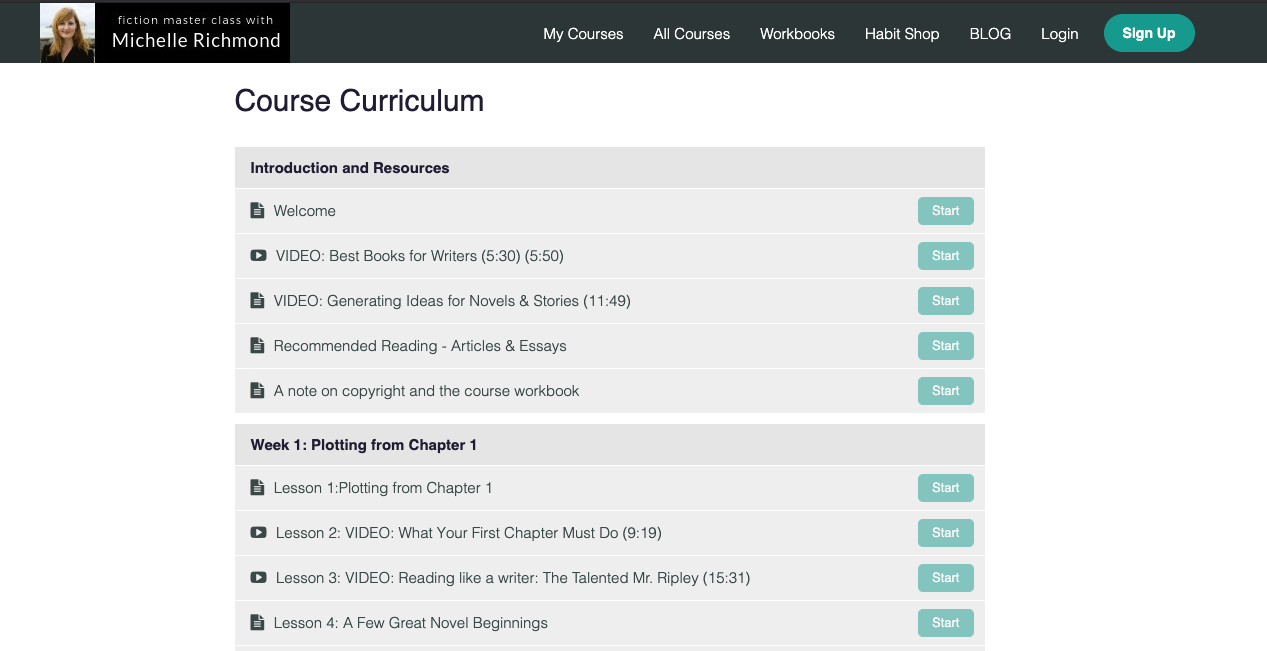
The example below shows how your course outline could look once it’s uploaded onto the platform. Splitting the modules into different categories is a helpful way to keep things organized for your students.
{{aicurriculum-component="/blog-shortcodes/blog-cta"}}
Outlining your course doesn’t have to be daunting. And, putting in just a little bit of elbow grease before you start creating will not only save you lots of time and energy later on, it will also enhance the learning experience of your students. Future you is already thanking past you.
Creating a course outline is an essential part of producing your course. It provides you with structure and organization, which is very helpful as the process can feel overwhelming at times. More importantly, it means that the course material you’re curating is intentional and focused on providing students with the most value possible—having course objectives that you’re building off of creates a solid foundation for learning. Having this outline also means you can share learning objectives with your students so that they feel empowered in their learning process. Overall, a course outline makes it more clear for you and your students, and provides a sense of ease for you during the creation process.
Generally speaking, a course outline is a tool for course creators to consider during the planning phase, while a course syllabus is intended for students to read ahead of starting the course. Once you’ve created a course outline, you can move on to creating the course syllabus, which includes more detailed information, including the course description, specific modules and assignments, dates, a grading rubric, rules of conduct, and other course requirements and expectations of the teacher.
Additional reporting by Nicole Quintana-Wolf