There’s a lot of noise in the entrepreneurial space about what equipment you actually need for your online business. This post will serve as a guide for everything you actually need to buy to get started with your online course business. Each category has a few different options depending on your goals and your budget, too. It’s tailored to the course creator, but is applicable to a variety of entrepreneurial types, with just a bit of tweaking. Take a peek at our online business equipment suggestions.
The obvious necessities
There are few things that you absolutely need to get started with your online business.
1. A computer
Of course, you’re going to need a working computer to get started. You don’t need anything too fancy—even a basic Chromebook could do the job so long, as you aren’t going to be running a lot of high-power programs.
For example, the average blogger will need a lot less powerful of a computer than a videographer would. Editing programs are a lot more straining on a computer than word processing programs are.
Wondering how powerful a computer you actually need? Check out this blog post that breaks it down.
Cost: $200+
2. Internet access

You also need access to the internet. Even if you don’t have WiFi yourself, most cafes and public libraries allow you to connect to their Wi-Fi for free. That said, life is definitely going to be easier if you have your own internet connection at home. It’s tough to host webinars in public places, and sometimes you just need to be in your own space.
Even the most basic internet plan should be enough to run your online business, just keep in mind that if you’re doing a lot of downloading or uploading, a faster Wi-Fi connection will save you time. For most people, 3-4 mbps should suffice.
Cost: Varies by location
Cost: Free to $500+
3. Other tech to consider
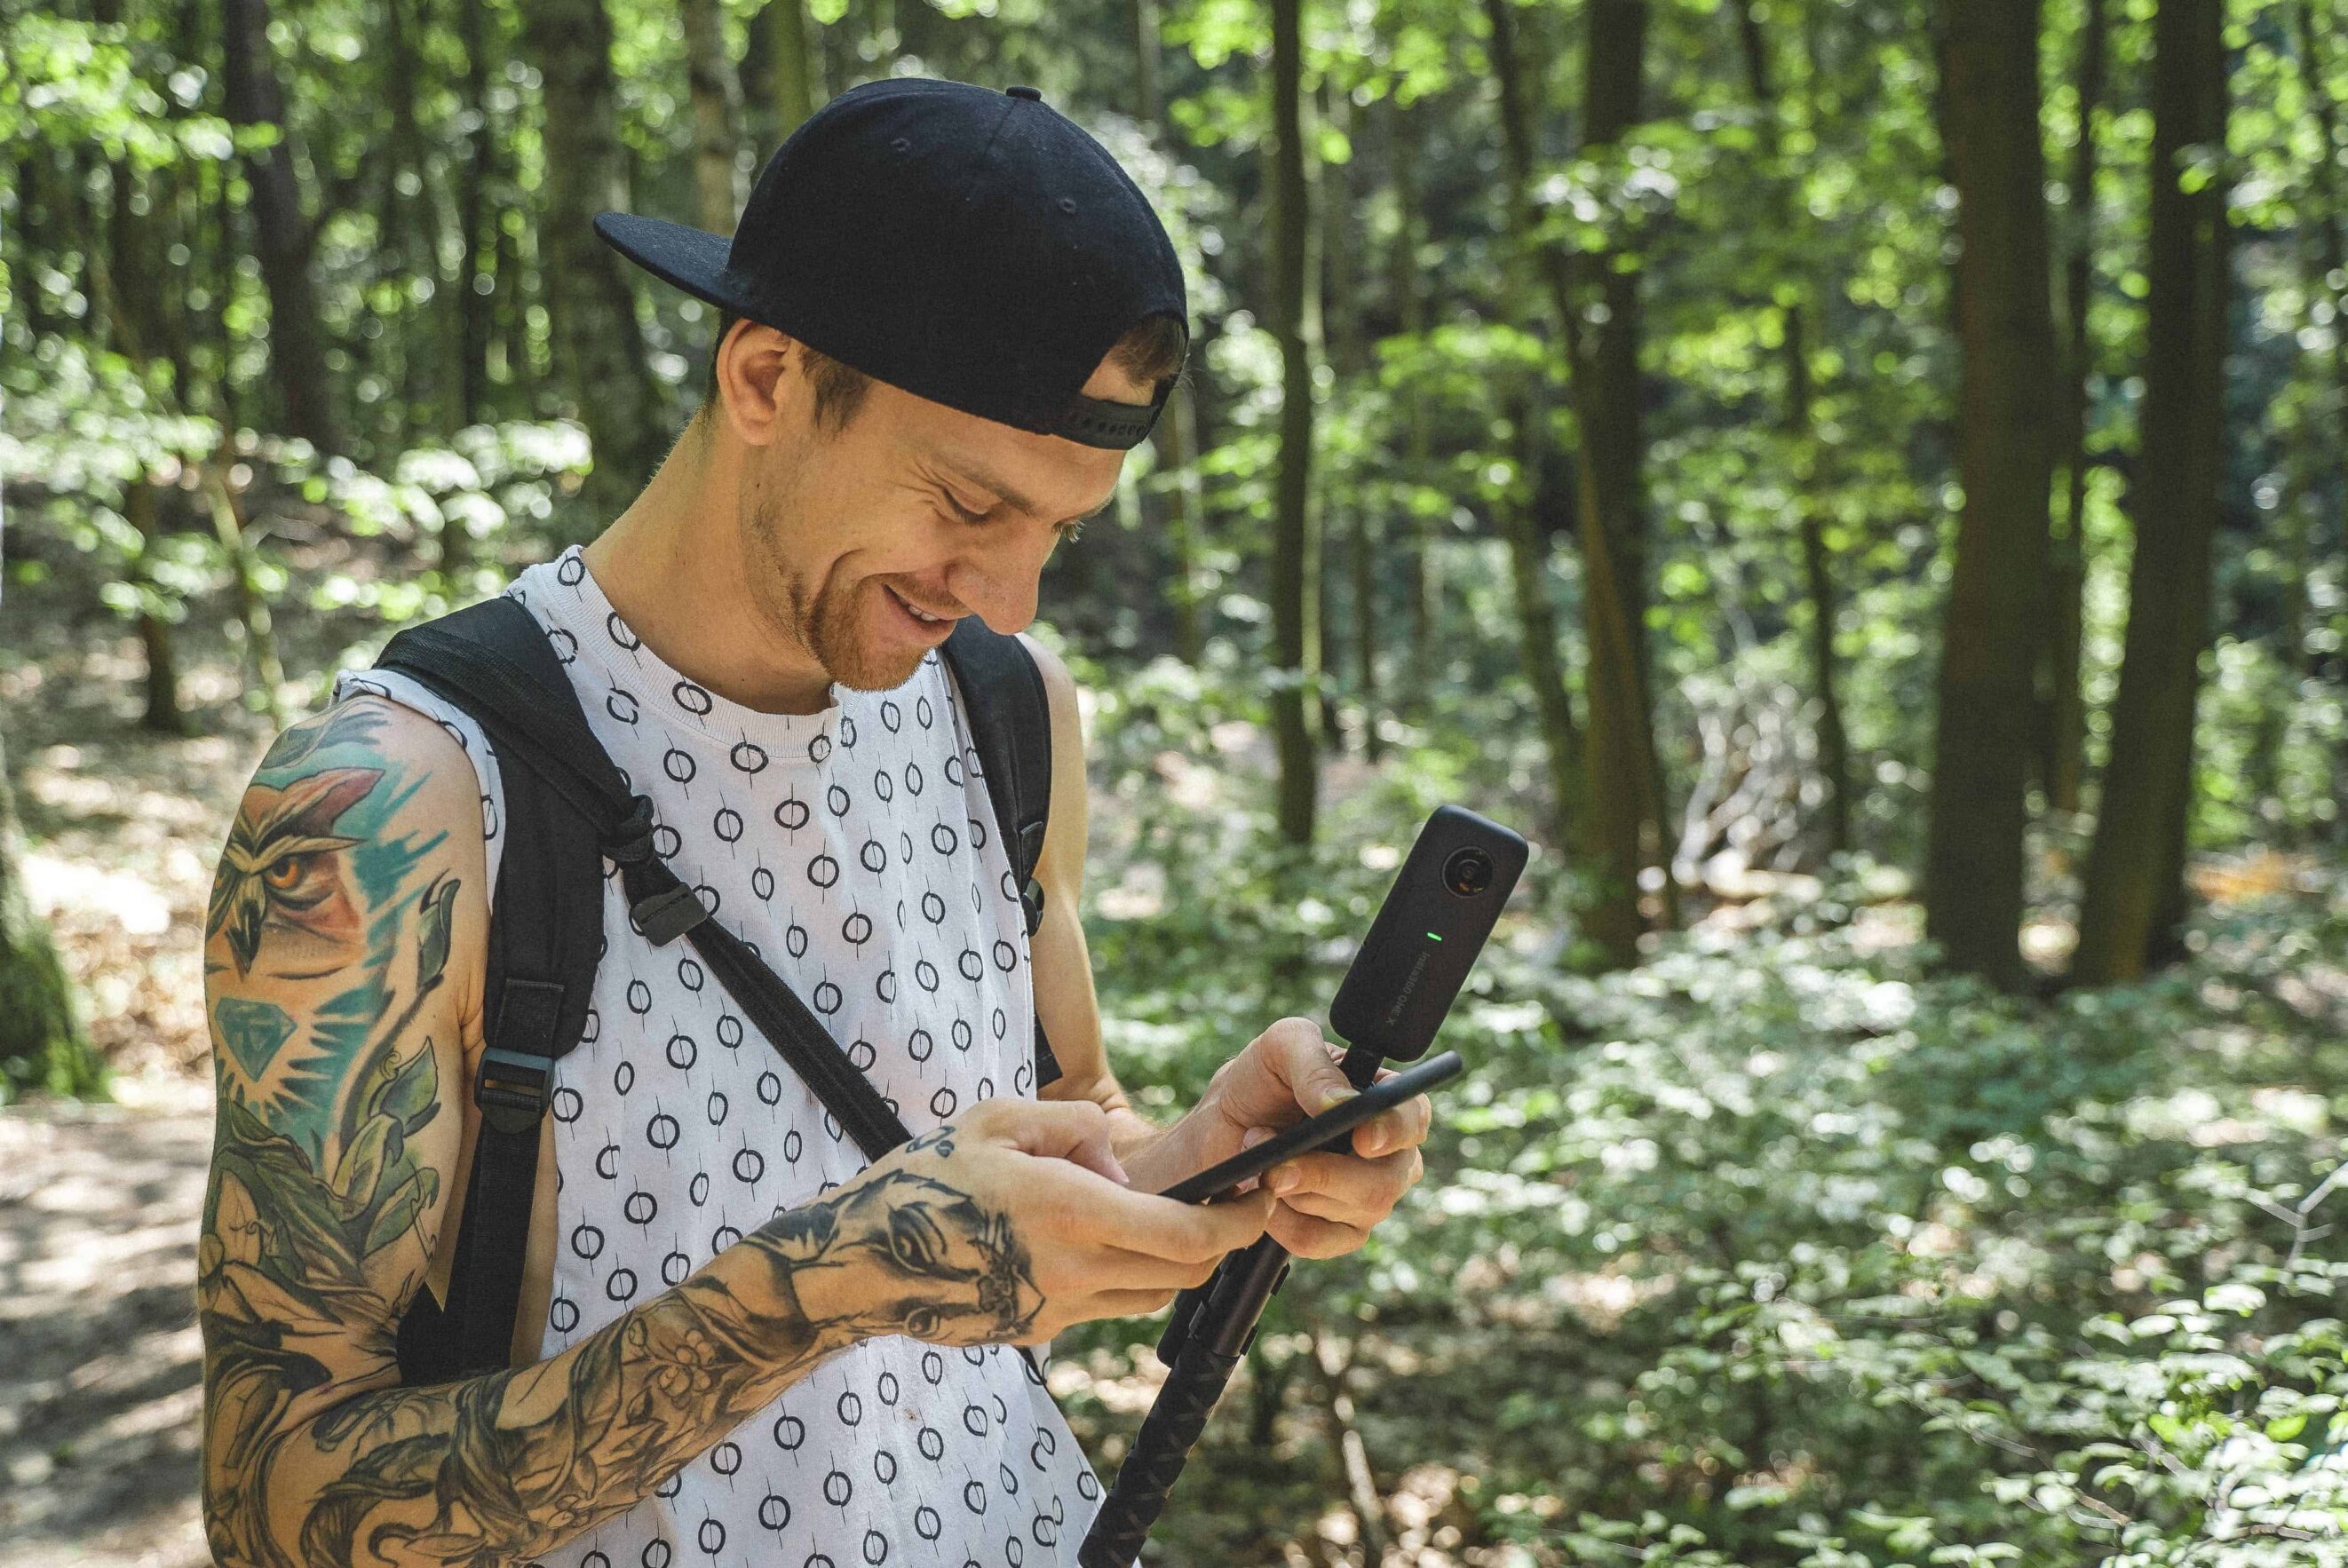
There a lot of nice-to-have items that you can buy for your business, but most of them aren’t necessarily need-to-have. With that said, if you’re creating a video based course, there will be a few things you need to create your content.
Video tools
Of course, you can create an online course without any video at all. But, we do find that the most successful courses include video in their content. If you’re interested in creating a video-based course, here’s some of the tech we recommend:
A video camera
Now, you don’t have to go out and break the bank on a DSLR camera—you can create quality videos on a budget.
Your webcam
A lot of course creators use the webcam that’s included on their laptop to record their video content. This is an option for people who don’t want to spend any extra money on a camera. But keep in mind that if you’re using your webcam you’re going to need top-notch lighting to make sure the quality looks great.
This can be as simple as sitting in front of a window—and I’ll be talking about other lighting options further down in the post.
You can also buy a higher quality webcam than what comes with your computer. This is often still cheaper than buying a new camera, but the quality can be comparable. Teachable uses a webcam like this for the webinars we host.
Cost: Free – $100
Your cellphone camera

On a similar note, you can use your cell phone camera to record your video content. Again, we caution you to be aware of your lighting when filming because that’s going to make a huge difference in quality.
If you’re using your cellphone, consider investing in a phone tripod. Otherwise you’ll find yourself playing a balancing act trying to get your camera steady and level. Most tripods on Amazon are under $15.
Cost: Free-$15
An actual camera
Finally, you have the option of using an actual camera, whether you choose to go for a point and shoot or a DSLR. Professional quality cameras will produce the best video if you know how to use them. Cameras tend to come with a bit of a learning curve, so account for that when making time to film your course.
Cameras are expensive, too, and unless you are going to be using it for other aspects of your business or personal life, we wouldn’t recommend buying a pricey camera just to create your own link course.
Cost: $100-$1,000+
Lighting
Like mentioned earlier, lighting is going to make all the difference in the quality of your videos. No matter what type of camera you decide to use, lighting can make or break the video.
The great thing about lighting? You do not have to shell out a ton of money. In fact, a lot of people just use natural lighting. It’s oftentimes a money saver in terms of online business equipment budgets.
Natural lighting
This means sitting in front of a window or a sliding glass door. The one thing to keep in mind if you’re using natural lighting is that it may shift during your video. If it’s a cloudy day, you might have moments of extreme brightness or extreme darkness.
Our recommendation is to film during a steadily overcast day. If the sky is just one big cloud rather than a bunch of scattered ones the lighting is will stay as steady as possible.
Cost: Free
A ring light
Your next option is to use a ring light. If you’ve ever attended a Teachable webinar, that’s what we use for our lighting.
Ring lights are great because they cast even lighting across your face and eliminate any harsh shadows. They can be pricey though.
Cost: $200+
Umbrella lighting

When people think lighting, they most often think umbrella lights. Umbrella lights are big lighting setups with white umbrellas to bounce back light at the subject.
Traditionally, umbrella light kits come with three lights, three tripods, and three umbrellas. Two of the tripods will be tall—you’ll use the two tall lighting set ups in front of you. One will be to the left, one to the right, and they’ll both be angling towards you. The short light goes you, so it illuminates your background and prevents shadows. Just be careful to keep the short light out of the camera’s frame.
The problem with umbrella lighting, is that they’re bulky and take up a lot of space to store. I recommend opting for umbrella lights if you’re only able to film in the evenings when there is no natural light. For night filming, umbrella lights light up the entire frame better than a ring light will.
Cost: $45+
Microphones
Arguably, sound quality is even more important than lighting. Your video could be beautiful, but if the sound has a lot of echo or static, viewers will get annoyed and not want to finish watching.
That’s where microphones come in.
If you invest in only one technology beyond your computer and Internet connection when building your online business equipment kit, it should be a microphone. Great sound quality will go a long way, especially if you’re filming voiceovers.
Earbud microphone

The microphone that comes with most standard earbuds has surprisingly high quality. If you’re voicing over slides for your video rather than filming yourself directly, earbuds may be the way to go.
They might look a little bit awkward if you are filming yourself, rather than recording audio for a screencast. But, if you’re motivated, you could bring up a lapel mic situation with your earbuds. Instead of wearing the earbuds in your ears, you can pin the microphone onto the collar of your shirt.
Cost: $10+
Rode mic
If you’re using a camera, Rode microphones are great because they clip right to the top of most DSLRs. Rode mics range in price from around $60 to several hundred dollars.
Cost: $60+
Yeti Microphone
Another microphone we love is the Yeti mic. If you’ve watched our webinars you probably seen us use our Yeti microphone. The quality of the Yeti mic really can’t be beat, but its downfall for recording video is that it doesn’t plug in directly to your camera.
That means that you have to merge an audio and a video file while you’re editing, which can add some complexity to the video editing process.
Cost: $45+
A teleprompter
Teleprompters are optional. You won’t need one if you plan to record voiceovers only, present from slides, or “wing it” on camera. If you plan to read from a script, you’ll probably need to rig up some kind of teleprompter, though. Luckily, you don’t need to buy an actual teleprompter to do that. There are a lot of DIY rigs you can come up with on your own.
An ipad or cellphone
In the App Store, you can buy a teleprompter app. All you have to do is upload your script, set a speed, and start recording. If you do go this route, make sure you’re setting your smartphone or tablet close to the camera lens. You don’t want to have to keep looking forward to the side or up or down just to get your prompts.
Cost: Free – $200+
Cue cards
Or, you can do things the old-fashioned way. You can write up some cue cards on your lap below the camera’s eye, and use those to help prompt what you’re going to say.
Like with using an iPad, you want to make sure that you’re not constantly looking down into your lap. You can do this by practicing with the cue cards a few times before make a real recording.
Once you have a few trial runs under your belt you’ll probably start to memorize what you’re going to say, and you will have to look down less often.
Pause before you look down and before you start speaking after looking down. These pauses will make it easier to edit your glances out of the final video.
Cost: $2
Backdrops
Backdrops are important in making your video look professional. A cluttered background will distract from your content. The simplest background is a tidy room. If you are teaching a food course perhaps you opted to film in your kitchen, or if you’re teaching online marketing perhaps you’ll film in front of your office.

Just make sure that your background is tidy and professional-looking. If you don’t want to film in front of a space in your home, there are other options.

Hang a blanket or sheet
It sounds simple, but hanging a blanket behind you can actually look really polished and professional. Opt for a solid-colored blanket and that’s not too distracting. You also want to iron out any wrinkles. While a solid-colored blanket should be your default, you could also find a sheet or fabric in a print that complementary to your course content.
For example, if you are a gardening instructor, perhaps you can find a sheet that has carrots and cabbage and radishes on it. Or if you’re teaching travel blogging, you can find a tapestry with a map on it.
Cost: Free
Film in front of a plain wall
If you have a plain-colored wall anywhere in your house, you could just film in front of that. To get the best quality possible, sit a foot or two in front of your wall so the camera blurs it out a little bit.
Cost: Free
A professional background
You can also go for a professional background set-up. In professional studios, they use big paper rolls for their backgrounds. The paper is great because it is thicker than sheets so it won’t be manipulated by air currents, and it remains very smooth.
If you go this route, the most basic setups cost about $60. You also need to buy the frame to hang the paper, and that costs a little over $30. The roll of background paper should cost a little less than $30.
Now the backdrop frame and the backdrops are available on Amazon, but in my experience you will get a better price going to a local photography store.
Cost: $60+
Join more than 150,000 creators who use Teachable to make a real impact and earn a real income.
