Thank you! Your submission has been received!
Oops! Something went wrong while submitting the form.
MENU

Google Slides, PowerPoint presentations, and similar software are invaluable tools for creators and teachers such as online instructors. With a voice-over, you can provide additional context to the educational content on a viewer’s screen, guide them through an in-depth presentation, and elevate the learning experience for everyone involved.
However, adding voice-over files to Google Slides presentations isn’t the most intuitive process. It takes a few steps and some preparation on your part beforehand. This article will discuss step-by-step how to do a voice-over on Google Slides and PowerPoint.
Put simply, because it allows you to upgrade your Google Slides and PowerPoint presentations.
Voice-over files are phenomenally helpful for educational experiences because they:
Adding audio to Google Slides presentations is simply too valuable to pass up, whether you have a couple of online courses or are a full-time distance educator. Plus, adding voice-over files to Google Slides, PowerPoint, and similar software is not too difficult.

Google Slides makes adding audio to your presentation very easy, especially because it’s free for everyone. However, voice-overs aren’t built into the app by default. So let’s explain how you can add audio to your Google Slides presentation step-by-step.
First, you need to have a script and slide presentation worth narrating over. That means writing a script you can easily read on paper or a Microsoft Word document you can put up on the computer screen simultaneously.
For the best results, you should write your script with clear designations of where each bit of text goes. For example, marking paragraphs as “slide 1”, “slide 2”, and so on will help you know when you should start and stop speaking while recording your audio.
This is doubly important because Google Slides requires you to record a separate audio file for each slide in your presentation. To make things easier, you can put a digital script in the speaker notes section at the bottom of your screen. Just remember that whatever you type in that section will be visible to those who read your Google Slides file when you share it!
Next, you’ll need to record the audio for each slide using a dedicated voice recorder. PCs have access to the Voice Recorder app. Alternatively, you can use Voice Memos if you use a Mac computer. Or you can find a third-party voice recorder app.
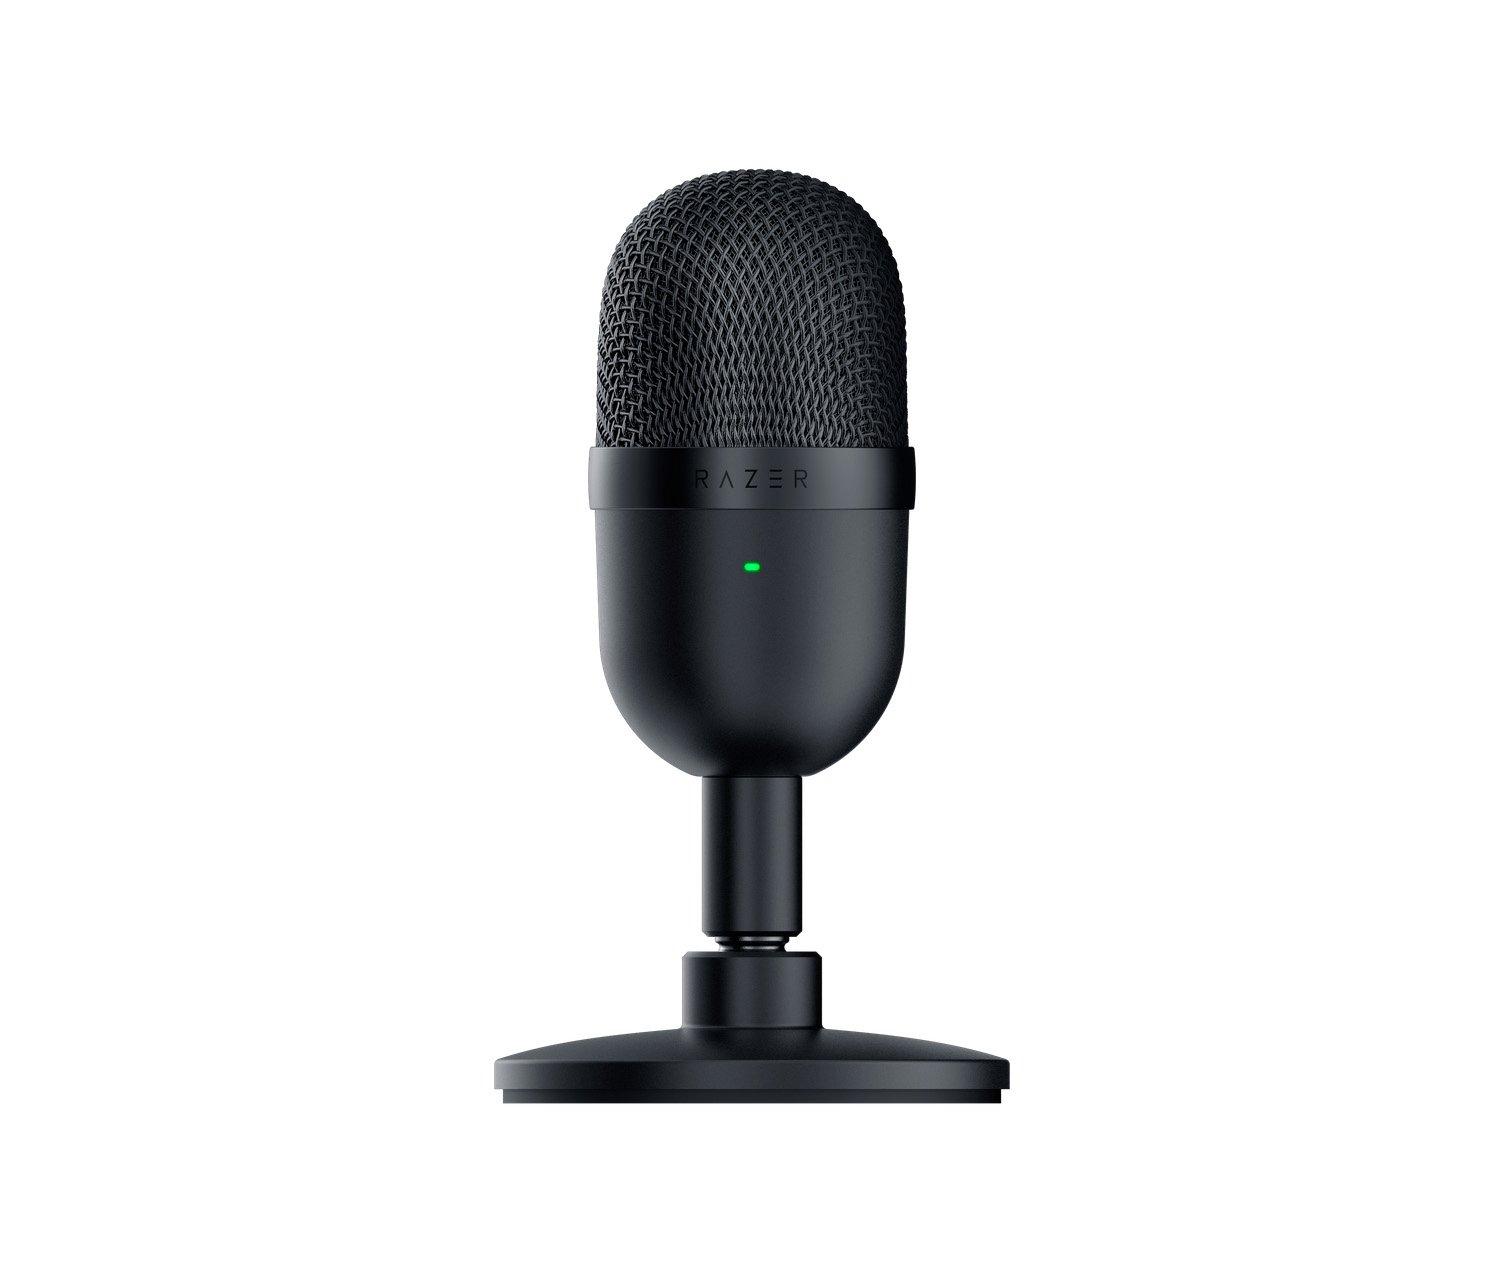
Whatever you use, make sure the software works perfectly and that you have a suitable microphone. A basic headset with a mic will be enough for most presentations. But if you purchase a separate dedicated microphone without headphones, you’ll enjoy better audio quality, and your presentation might turn out better too.
Once you have your equipment, simply hit the red record button, which begins the recording process. Be sure to record your script one slide at a time. You can always tell whether your audio software is recording your voice if the audio icon vibrates in real-time with your words.

As soon as you complete each slide, click the stop button. Your software will then take you to an editing screen, at which point you can trim your audio. We recommend:
Once your trimming is complete, click “Save” and move on to the next slide.
As you create audio files, they will show up in your computer’s download folder. They should be numbered sequentially, but you may wish to rename them so you can identify and organize them more easily later.
You’re almost done. Make a new folder in Google Drive or your computer for your audio clips. You can upload or click and drag the audio files you made to your new folder. Again, ensure they are correctly organized so you can accurately and quickly add them to your Slides presentation.
All that’s left is to open Google Slides, then open the slide you want to add an audio file to. At the top left-hand corner of the screen, click “Insert,” then “Audio.” Then just select the audio file you want to go with that slide.
At this point, a speaker icon will appear on the side of the screen. This will include a mini-player app so you can preview the audio file. Note that you can move the icon anywhere on the screen, so it’s not distracting.
A format options section will also open. Here you can adjust how the audio plays and when it starts on the slide. For example, if you’re teaching an online course, it’s a good idea to have the audio formatted, so it starts automatically when someone clicks on the chosen slide. You should also select the “stop on slide change” option, so your audio file stops playing when someone moves to the next slide.
Then repeat this process for every slide in your presentation. Don’t forget to give your Google Slides presentation a test before sharing it or sending an invoice to recipients. That way, you can go back and change anything if you run into a minor mistake.
You may want to use a Google alternative. You can create a presentation on PowerPoint, which comes with a free version. It works very similarly to Google Slides, and many steps are close to the same as the process described above.
Just like when you record audio for Google Slides, you’ll need to write and develop a script for your PowerPoint presentation. The more accurate your script is, the easier time you’ll have recording the lines and matching those audio files to the appropriate slides.
With PowerPoint, you must also record your script as individual audio slides, so try to space out your script monologue into appropriate sections.
Do the exact same thing as broken down above. Use free voice recording software and a decent microphone, then hit the red microphone button that appears on your screen when you turn the software on.
Record your script page by page, and be sure to save individual sections as specific audio files. Once more, it’s wise to save these files in a dedicated folder and name them so you can easily identify and organize them later.
After creating and organizing your audio files, it’s time to insert them into your PowerPoint presentation. Luckily, this is a little easier with PowerPoint than with the free version of Google Slides.
To do this, simply open PowerPoint, then select “Insert” and “Audio.” A small box will pop up, allowing you to insert audio files. Choose the audio files you want to add for the specific slide you have up at the moment, then embed them.
After inserting an audio file into a PowerPoint slide, click “Start.” This will bring up an option to set when the audio should start for the given slide. We recommend setting this to “Automatically,” as it ensures that your presentation begins with the audio file as soon as the viewer advances to each slide.
You can also set this to begin when clicked on, but this requires more input from slide viewers or students. So there’s always a chance that your audio information will be skipped or missed by accident.
At this stage, you should also move the speaker icon for your audio files anywhere you like. This will determine where the speaker icon appears when a viewer checks out your PowerPoint presentation.
All that’s left is to share your presentation. You can do this easily through the PowerPoint interface by clicking “File,” then “Share,” then “Share” again with individual people. You can send it to email addresses or upload it to your online courses, especially if you have a good online course platform like Teachable.
Doing a voice-over for your Google Slides and PowerPoint presentations is quick and simple, especially after you go through the process once. After getting your first few audio files up and running, the odds are you’ll be able to speak to the rest of the process and make your entire presentation audio-enhanced.
Remember to do this for each Google Slides presentation you create; your students will thank you!

Yes. Google Slides is designed to accept audio files when those files are created using standard audio recording software and a decent microphone.
You can do a voice-over on Google Slides by recording audio, then attaching individual audio files to appropriate slides within your presentation. You cannot, at least at the moment, attach a long audio file to your Google Slides presentation and have it run throughout the entire thing.
Odds are you won’t want this anyway since it means remote viewers might be confused or trigger audio files to play when they aren’t viewing the appropriate slide.
Converting a PowerPoint file to a Google Slides file is fairly easy. You may wish to do this if your educational platform or teacher requests that you deliver a slide presentation in one file format or another.
The easiest way to convert a PowerPoint presentation is to import your file to Google Slides. To do this:
This saves changes automatically to the cloud, and you should be able to view your PowerPoint presentation on Google Slides.
