Thank you! Your submission has been received!
Oops! Something went wrong while submitting the form.
MENU
Learn how to record sound for your online course using this simple guide. We'll go through the process of recording at home on all devices.

Most online course creators don’t have any formal training in teaching, creating a curriculum, video production, or even how to record sound. Despite that, they’re able to create high-quality and impactful courses that change the lives of their students. One of the trickiest aspects we’ve found in creating an online course is capturing high-quality audio for your videos. Unfortunately, it’s not as simple as just speaking into your camera or laptop and coming out with studio quality sound.
Instead, learning how to record quality sound for your online course requires a bit of preparation—and maybe some finessing in post process.
Even if you’re filming on a budget and only have basic equipment, you can still produce high-quality audio by avoiding making these simple mistakes.
Things like echo, ambient noise, and background noise can all make the listening experience less than ideal.
Echo is one of the most common audio quality mistakes heard when taking courses or watching YouTube videos. Echo happens when you record in a large room, an empty room, or a room that has a lot of flat, hard surfaces for sound to bounce off of.
To minimize echo, be wary of the room you’re filming in. Ideally, you’d be able to record in a small, carpeted room. There’d be soft furniture to help absorb noise. If that’s not possible, bring in a few pillows or blankets to drape over the hard surfaces in your room.
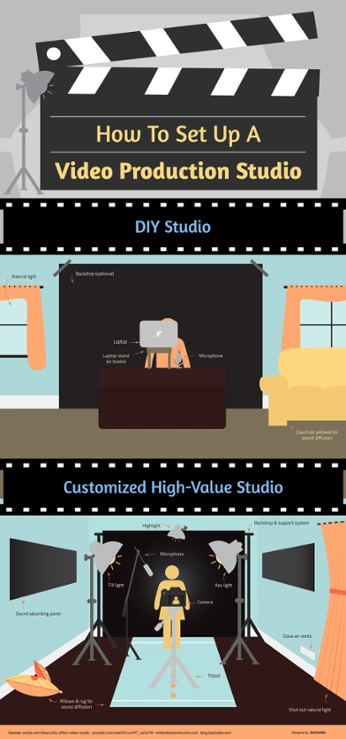
For more on setting up your filming space, check out our post on creating a DIY home studio.
More often than not, you’re surrounded by noises that your brain just tunes out. Whether it’s the hum of the fridge or the buzzing of your air conditioner, those background noises in our everyday life make for poor audio quality.
Luckily, minimizing these noises is simple:
Even worse than the humming and buzzing and whirring of your household appliances? Hearing voices and unplanned music in the background when recording quality sound for online courses.
Now, there are some sound quality problems that are simply unavoidable. If your environment isn’t ideal for recording high-quality audio, no worries. There are still measures you can take to minimize the noise in your environment.
But some things are in your hands. Before you begin filming, make sure:
Now that we’ve gotten rid of the pesky enemies to great sound, let’s talk about the steps you can take to optimize your audio quality in your videos and record quality sound for your online course.
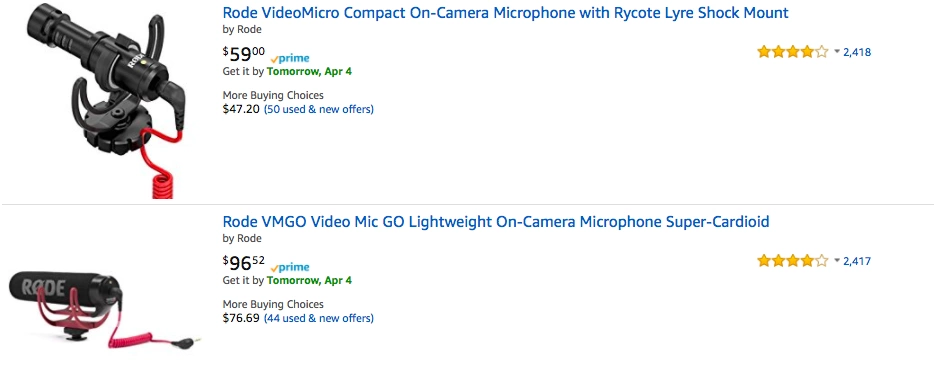
Now, you don’t have to drop hundreds of dollars on an expensive or fancy microphone, but you should also be aware that there are very few cameras that have a decent built-in microphone. Using an external microphone can take the audio quality from decent to professional.
When it comes to improving your audio quality with a microphone, you’ve got a few options:

Now, just because you invested in a fancy microphone doesn’t mean your audio quality is automatically going to be incredible. Definitely read the manual that comes with your microphone for best use, but also, keep these tips in mind.
One of the biggest mistakes made when people record sound for online courses is holding the microphone way too close—or so far away it sounds like the audio is coming from a few rooms over.
Post processing is an important part of creating great video and audio. No matter how careful you were in recording, chances are that your audio quality could still use some fine tuning.
Reduce background noise every single time. Most recording programs give you this option somewhere, and it makes a world of a difference. It can make average sounding audio sound like it was recorded in a studio.

When in doubt, add background music. Sometimes there’s no getting around low-quality audio when you’re in a pinch. Adding in royalty free music to play quietly in the background can help disguise any buzzing or background sounds while polishing your final product.
Mac laptops and desktops come with a built-in microphone.
PC laptops and computers have a built-in microphone.
All iPhones have the Voice Memos app that can be used for recording. This app includes basic features, including a way to skip silence, as well as enhance and trim your recordings.
Each Android device is different. Depending on your cellular provider, you may have different apps on the device (look for a microphone icon, or search “recorder”, “voice memo”, etc.). Unlike iPhones, there is no standard voice recorder app. If you do not already have one downloaded, you will want to download one from the Google Play Store. As a general guideline:
